# GraphQL
GraphQL (opens new window) is a data query and manipulation language for APIs. The GraphQL connector enables you to query and mutate records from any application that supports a GraphQL API.
The GraphQL connector dynamically introspects the application schema to determine which resources and operations are available. It automatically generates input and output fields. This allows you to build GraphQL queries and mutations through the Workato UI without writing code.
If you already have custom GraphQL queries or documents, you can use a custom action. The GraphQL connector parses your query, validates fields against the schema, and auto-generates corresponding input and output fields.
Watch the GraphQL video
# When to use the GraphQL connector
Use the GraphQL connector when:
- The application you plan to integrate with provides a GraphQL endpoint
- No native Workato connector is available for the application
- You want to query or mutate data flexibly without using REST endpoints
KNOWN LIMITATIONS
The GraphQL connector has the following limitations:
- No support for uploading binary files or attachments
- No support for the GraphQL subscription operation type
# Prerequisites
Complete the following prerequisites before you connect to GraphQL:
- Ensure you have privileges to install community connectors and create connections in Workato
- Download the GraphQL connector from the Community library
- Obtain required credentials
- Locate the application’s GraphQL endpoint URL (for example,
https://api.example.com/graphql)
# Download the GraphQL connector from the Community library
Complete the following steps to install the connector from the community library (opens new window):
Open the recipe editor and search for a connector. Alternatively, you can search for a connector in the community library (opens new window).
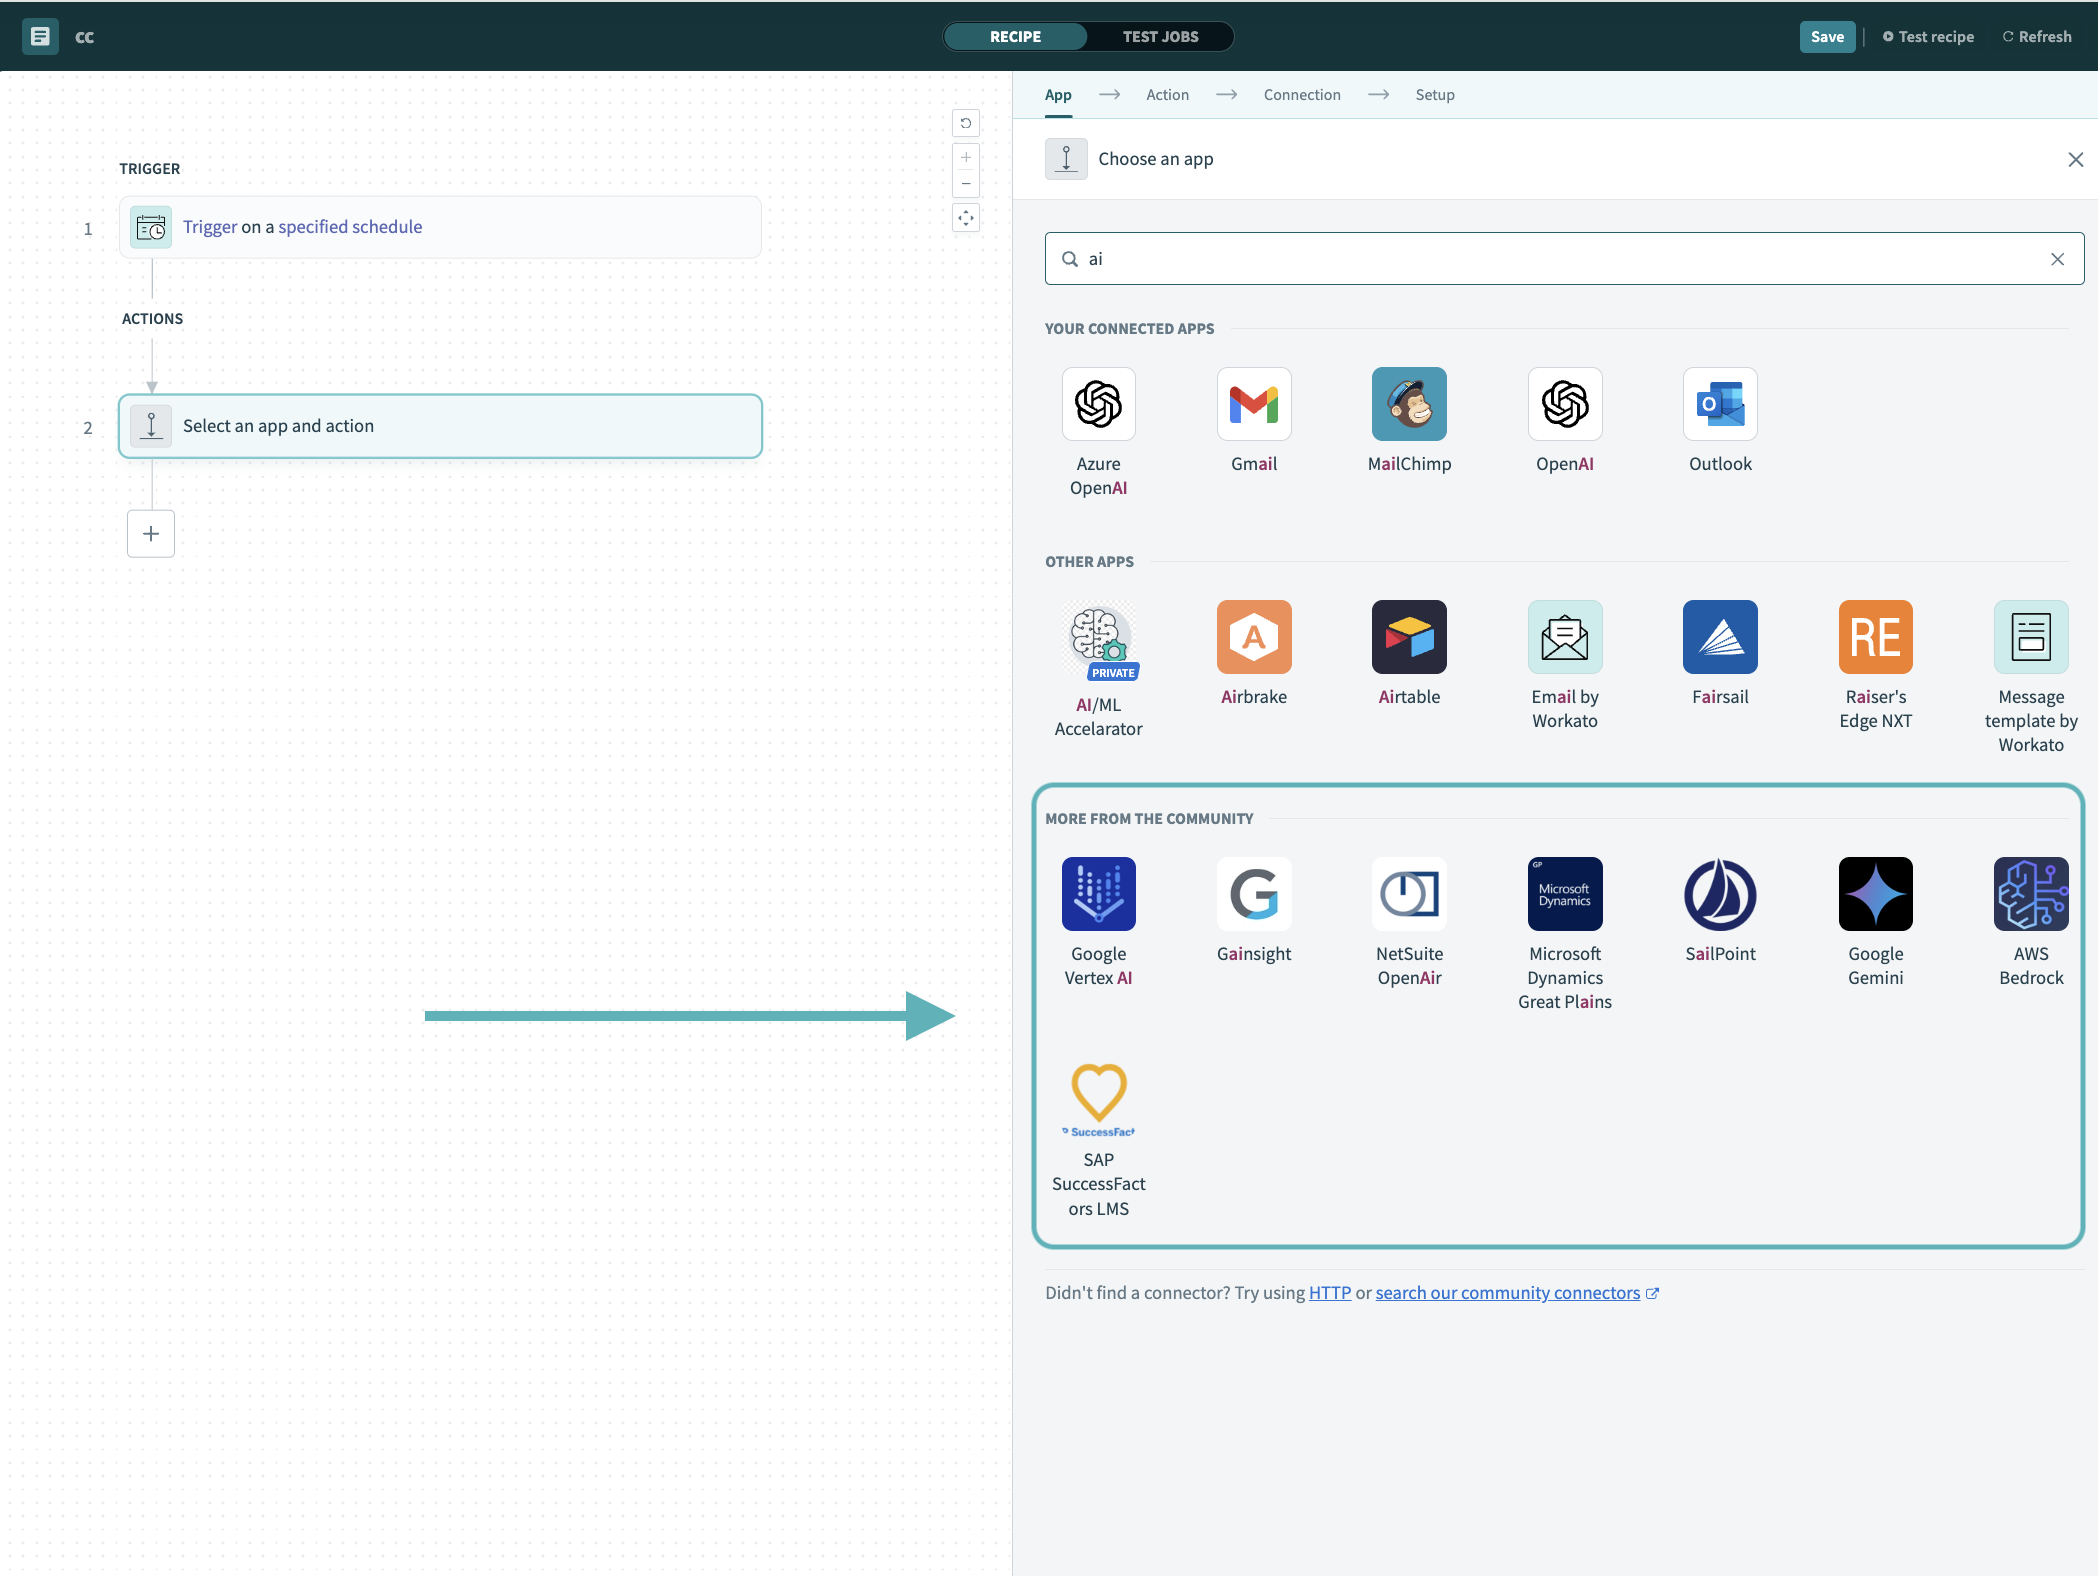 Search for community connectors in the recipe editor
Select the community connector you plan to install.
Click Install to install the connector from the community library.
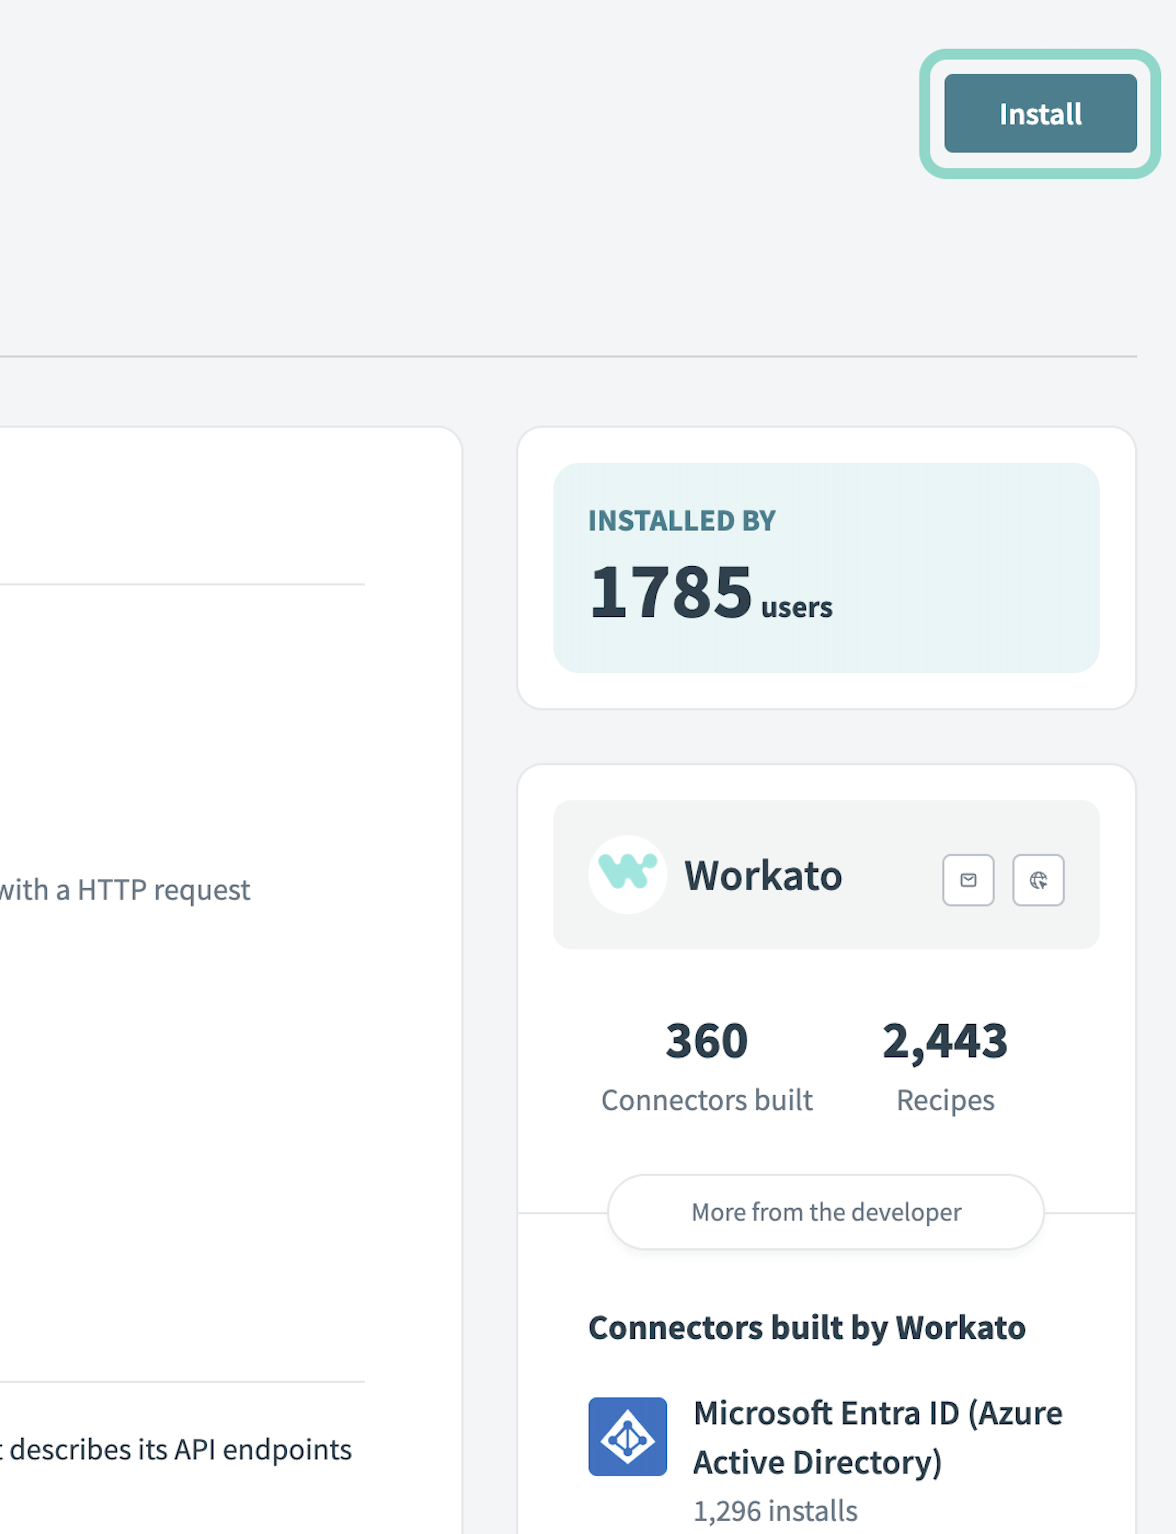 Click Install
Select Release connector. Alternatively, select Review code to review and modify the connector code before releasing it to the workspace.
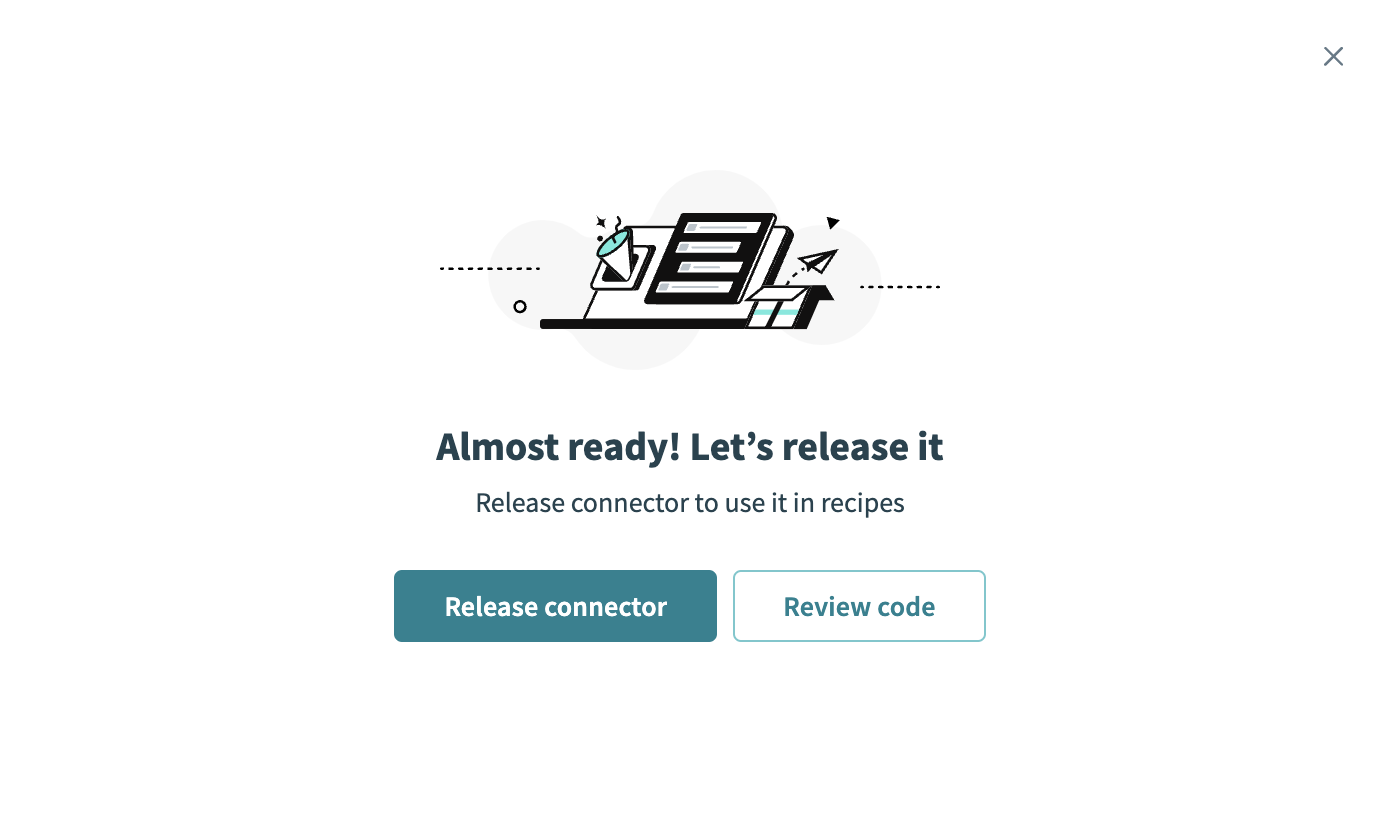 Release the connector
Summarize any changes you made to the connector, then click Release to allow workspace collaborators to use the connector in recipes.
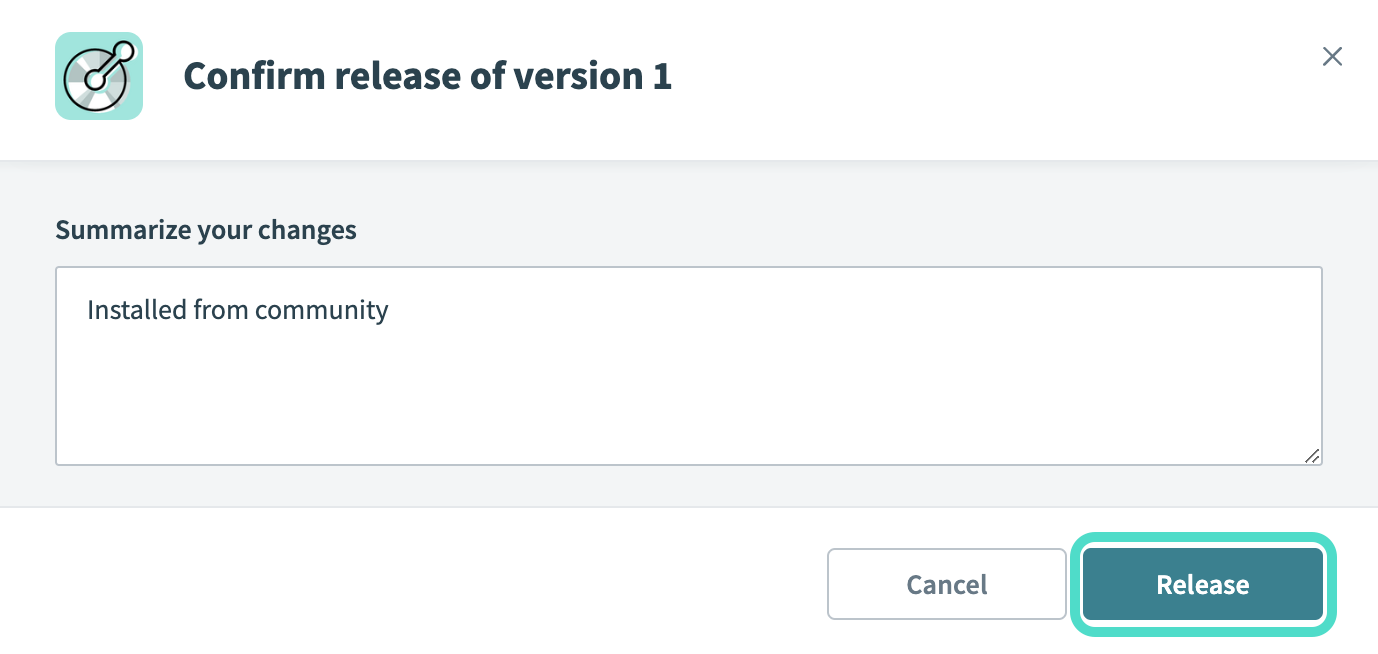 The Confirm release dialog
# Obtain required credentials
Each GraphQL API defines its own authentication requirements. Review your application's API documentation to determine which authentication method it supports and how to obtain the required credentials. Common options include:
| Authentication method | When to use | Required credentials |
|---|---|---|
| None | Applicable if the API is public and doesn't require authentication | None |
| Basic | Use when the API requires a username and password. Workato encodes these credentials in the HTTP Authorization header |
|
| Header | Use when the API requires a key or token in a custom header |
|
| Query params | Use when authentication depends on URL-based tokens or keys |
|
| OAuth 2.0 (client credentials) | Use for server-to-server authentication. Workato requests an access token using your client credentials |
|
| OAuth 2.0 (authorization code grant) | Use when end-user authorization is required through a login redirect. Workato manages the redirect and token exchange |
|
| OAuth 2.0 (resource owner password) | Use when the API issues tokens directly from a username and password |
|
# Register Workato as an OAuth client
OAuth 2.0 connections require you to register Workato as an OAuth client.
Complete the following steps to register Workato as an OAuth client:
Go to your application’s Developer or API settings page.
Create a new OAuth client or application.
Set the Redirect URI to:
https://www.workato.com/oauth/callback
Copy the Client ID, Client secret, Authorization URL, and Token URL from your application.
# Verify your credentials
Test your credentials using a tool such as curl or Postman before establishing your connection to confirm your credentials are valid.
You should be able to:
- Call the
/graphqlendpoint successfully - Receive a valid JSON response
- Retrieve an access token (for OAuth connections)
# Connection setup
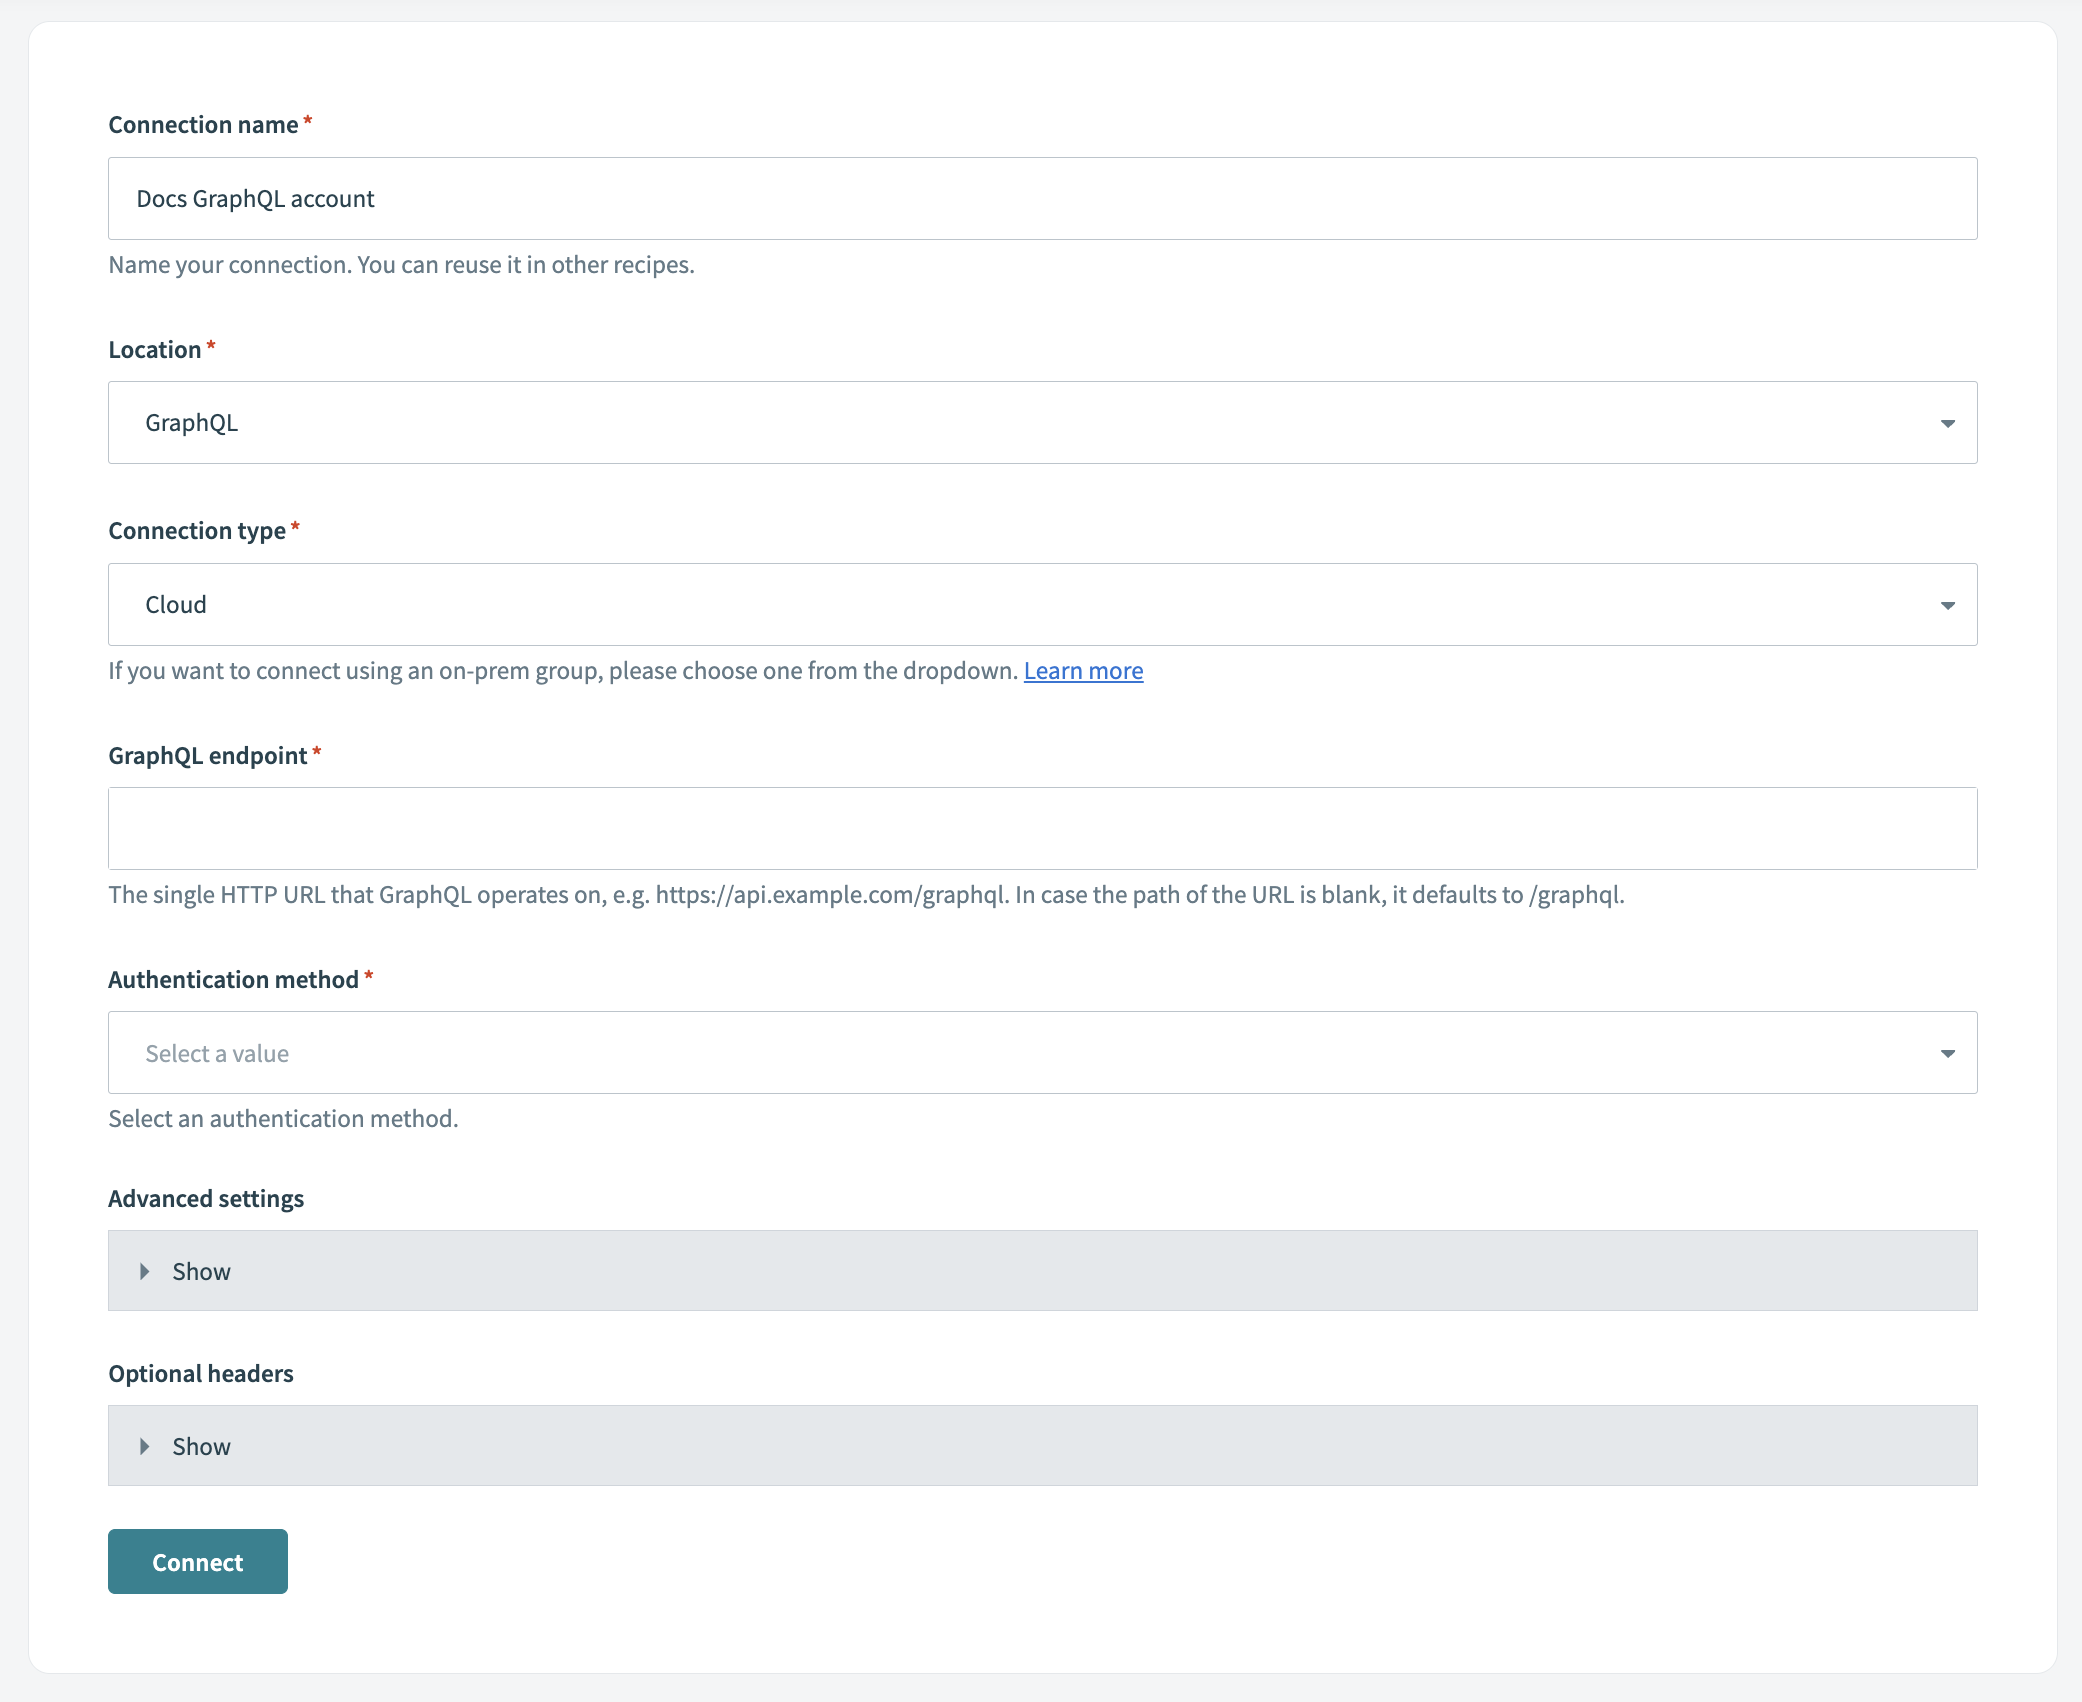
Complete the following steps to create a GraphQL connection in Workato:
Click Create > Connection.
Search for and select the GraphQL connector.
Enter a Connection name.
Use the Location drop-down menu to select an existing project or create a new one.
Select a Connection type:
- Cloud for direct connections.
- On-prem group for on-prem connections.
Enter the GraphQL endpoint URL, for example, https://api.example.com/graphql.
/graphql is used by default if no path is provided.
Use the Authentication method drop-down menu to select an authentication type and provide the required credentials for your selection:
Optional. Expand Advanced settings to configure schema limits:
- Schema depth limit (
max_schema_depth) controls the maximum nesting level of fields and limits how many levels deep the connector expands object fields. - Schema recursion limit (
max_recursion_depth) controls how many times the same type can appear in a path and prevents infinite loops when types reference themselves (circular references).
Leave these values at their defaults unless your schema is unusually large or highly nested. Refer to the Advanced settings section for more information.
Optional. Expand and configure Optional headers if required by your application.
Click Connect to validate your credentials and save the connection.
 Set up a GraphQL connection
Workato displays a confirmation message if the connection succeeds. Review your endpoint URL, authentication details, and permissions if the connection fails.
# Advanced settings
The GraphQL connector offers two advanced options that control how deeply nested fields are expanded in the schema:
- Schema depth limit (
max_schema_depth): Controls the maximum nesting level of fields in the schema. The default is five. - Schema recursion limit (
max_recursion_depth): Limits how many times the same type can appear in a path to prevent infinite loops. The default is five.
# Adjust schema settings
Workato recommends beginning with default settings before making adjustments as the default settings are suitable for most use cases. We recommend following these practices when adjusting schema settings:
- Increase limits incrementally, as higher values can cause exponential field growth
- Test these settings with your specific API, as different schemas behave differently
You can adjust schema settings in the following situations:
Increase limits when:
- You require deeply nested data structures
- Your schema has many legitimate levels of nesting
- You're not experiencing performance issues
- You need access to fields beyond the default depth
Decrease limits when:
- Schema generation is too slow
- Too many fields are displayed in the UI, making it difficult to navigate
- Timeout errors occur
- You only need top-level or shallow data structures
# Example schemas
The following examples demonstrate how depth and recursion limits control schema expansion.
# Depth limit example
The depth limit controls how many levels of nesting the connector expands. Each nested object adds one level of depth.
Example schema:
type User {
  id: Int
  name: String
  profile: Profile
}

type Profile {
  bio: String
  settings: Settings
}

type Settings {
  theme: String
  preferences: Preferences
}

type Preferences {
  language: String
  advanced: Advanced
}

type Advanced {
  debug: Boolean
}
With max_schema_depth = 2:
User (depth 0)
├─ id: Int                    ✓ Included
├─ name: String               ✓ Included
└─ profile: Profile (depth 1)
   ├─ bio: String             ✓ Included
   └─ settings: Settings (depth 2)
      ├─ theme: String        ✓ Included
      └─ preferences (depth 3) ✗ STOPPED - Exceeds depth limit
Result: Only fields up to two levels deep are displayed.
# Recursion limit example
The recursion limit controls how many times the same type can appear in a single path. This prevents infinite loops when types reference themselves or create circular dependencies.
Example schema with circular reference:
type User {
  id: Int
  name: String
  friends: [User]  # Self-reference
  posts: [Post]
}

type Post {
  title: String
  author: User     # References back to User
}
With max_recursion_depth = 2:
User (count: 0)
├─ id: Int
├─ name: String
├─ friends: [User] (count: 1)
│  ├─ id: Int
│  ├─ name: String
│  ├─ friends: [User] (count: 2) ✗ STOPPED - User seen 2 times
│  └─ posts: [Post]
│     ├─ title: String
│     └─ author: User (count: 2) ✗ STOPPED - User seen 2 times
└─ posts: [Post]
   ├─ title: String
   └─ author: User (count: 1)
      ├─ id: Int
      ├─ name: String
      └─ friends: [User] (count: 2) ✗ STOPPED - User seen 2 times
Result: The User type can appear up to two times in any path before expansion stops.
# Combined limits example
When both limits are active, the connector stops expanding when either limit is reached.
With max_schema_depth = 3 and max_recursion_depth = 1:
Invoice (depth: 0, count: 0)
├─ id: Int                              ✓ Included
├─ number: String                       ✓ Included
├─ customer: Business (depth: 1, count: 0)
│  ├─ name: String                      ✓ Included
│  └─ invoices: [Invoice] (depth: 2, count: 1)
│     ├─ id: Int                        ✓ Included
│     ├─ number: String                 ✓ Included
│     └─ customer: Business (depth: 3, count: 1) ✗ STOPPED - Both limits hit
└─ items: [LineItem] (depth: 1)
   ├─ description: String               ✓ Included
   ├─ price: Decimal                    ✓ Included
   └─ product: Product (depth: 2)
      └─ name: String                   ✓ Included
Result: Expansion stops when Invoice depth reaches three and Business is seen twice in the same path.
Last updated: 12/5/2025, 6:00:12 PM