Update a community connector
There are two ways to update a connector installed from the community library:
- If an update banner appears in the Connector SDK, use it to apply the update directly.
- If no banner appears, copy the latest source code from the community library into your existing connector.
REQUIRED PERMISSIONS
Updating community connectors requires full access to the Connector SDK. If you don’t have the required permissions, contact your workspace admin.
Apply update from banner
When a new version is available, a banner appears on the connector in the Connector SDK. Complete the following steps to apply the update from the banner:
Go to Tools > Connector SDK.
Select a connector that displays the update banner.
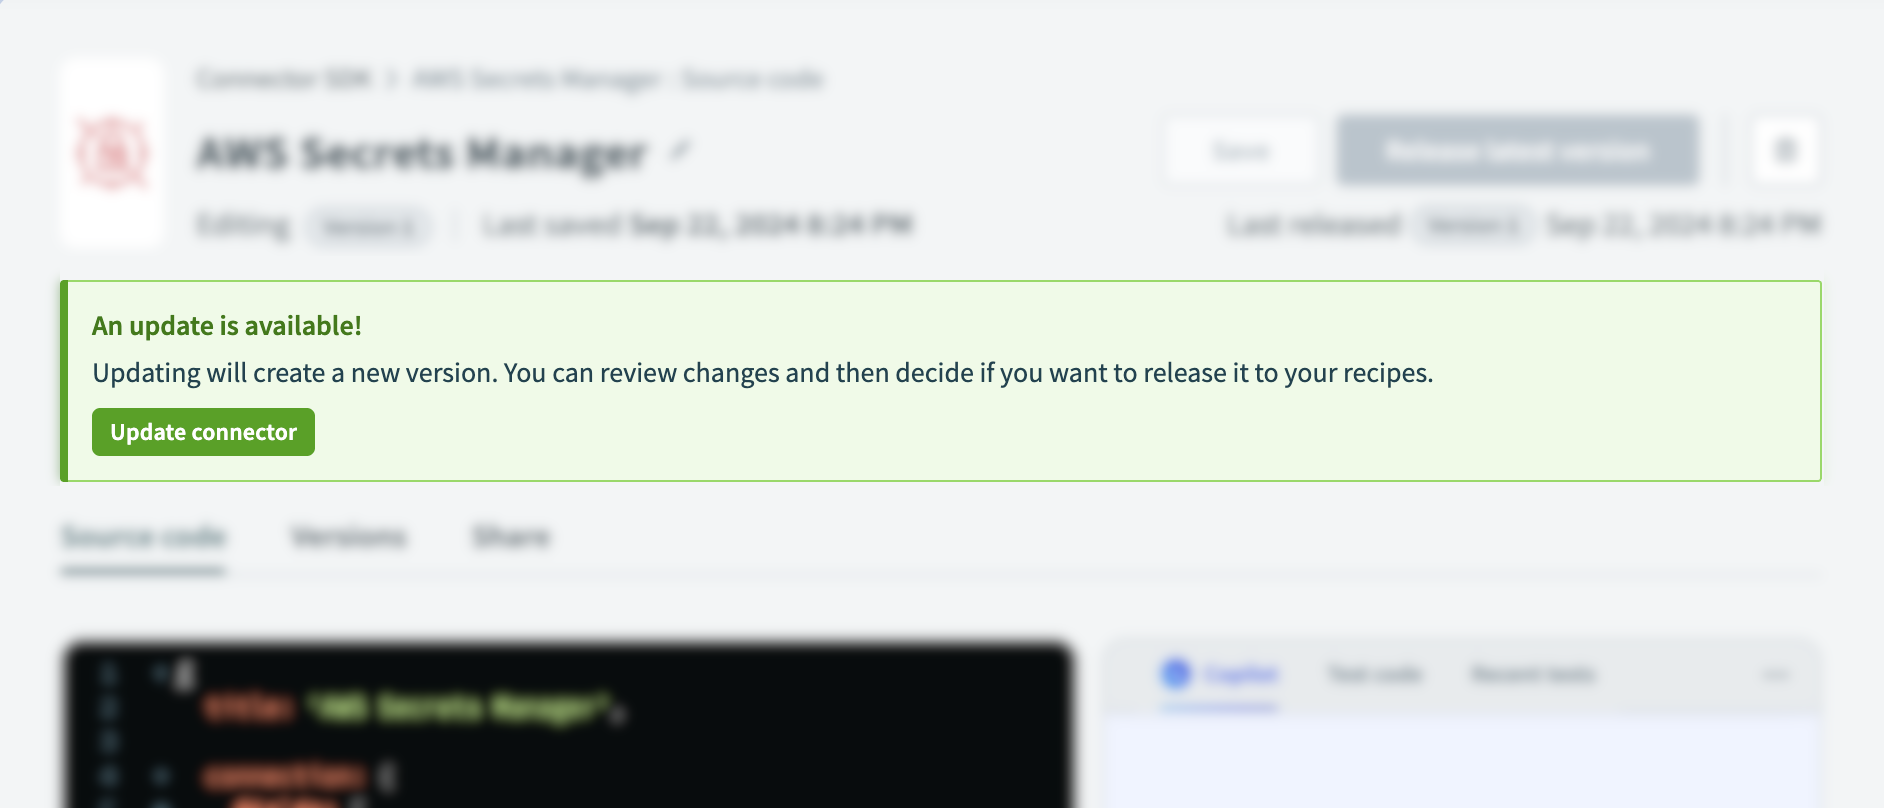 Update connector
Click Update connector.
Review and test the updated code.
Click Release latest version.
Copy the latest code from the community library
If the banner doesn't appear, complete the following steps to update the connector by copying the latest source code:
Go to Community library > Custom connectors and select the connector you plan to update.
Select the Source code tab and copy the connector's source code.
Go to Tools > Connector SDK and select your original connector.
Paste the updated connector code into the Source code tab.
Save the changes to your connector.
Review and test the updated code.
Click Release latest version.
Last updated: