Configure AI Gateway
Set up AI Gateway to connect your LLM providers, create routes that determine which model serves each request, and issue access keys that control who can use them.
AI Gateway configuration builds on three objects. Create them in the following order:
- Provider: A connection to an LLM service, such as Anthropic or Azure OpenAI, along with the credentials AI Gateway uses to authenticate.
- Route: The target that serves a request. A route resolves to a provider and model, either directly or through rules.
- Access key: The credential an application presents to AI Gateway. Each access key grants access to one or more routes.
Policies are optional. Create a policy when you need to cap the request rate or token usage of the routes and access keys assigned to it, or restrict access by IP address.
Add a provider
A provider stores the credentials AI Gateway uses to authenticate with an LLM service. Providers are stored in a project, and you can reuse the same provider connection in genies.
AI Gateway supports the following LLM providers: Anthropic, OpenAI Compatible, Azure OpenAI, and AWS Bedrock. The fields you configure depend on the provider you select.
Complete the following steps to add a provider:
Go to AI Gateway > Providers.
Click + Add provider.
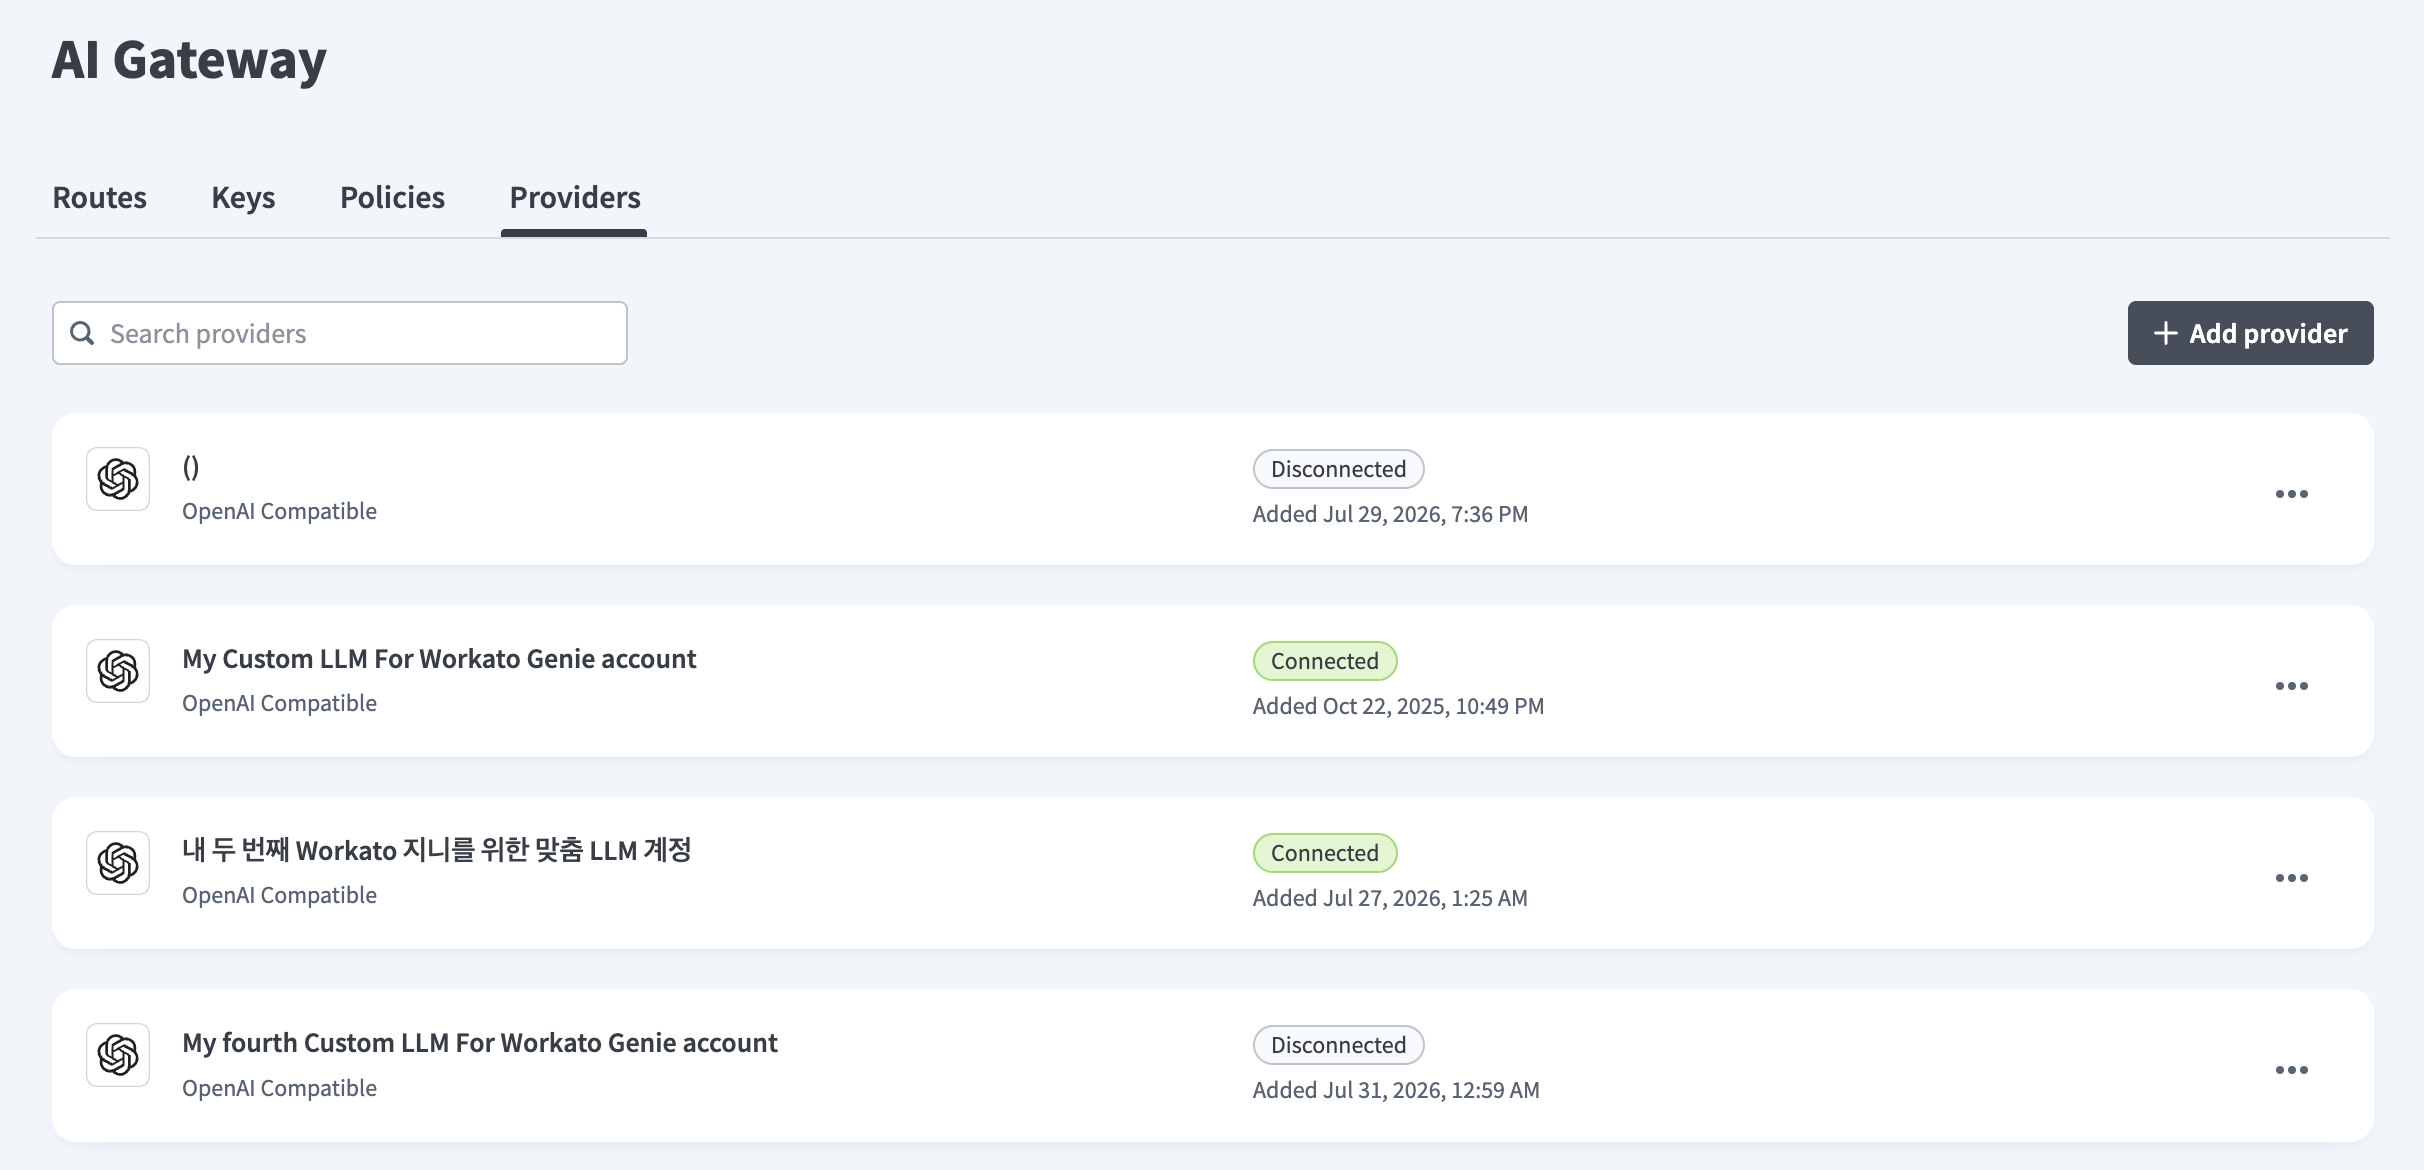 Add provider
Enter a descriptive name in the Connection name field.
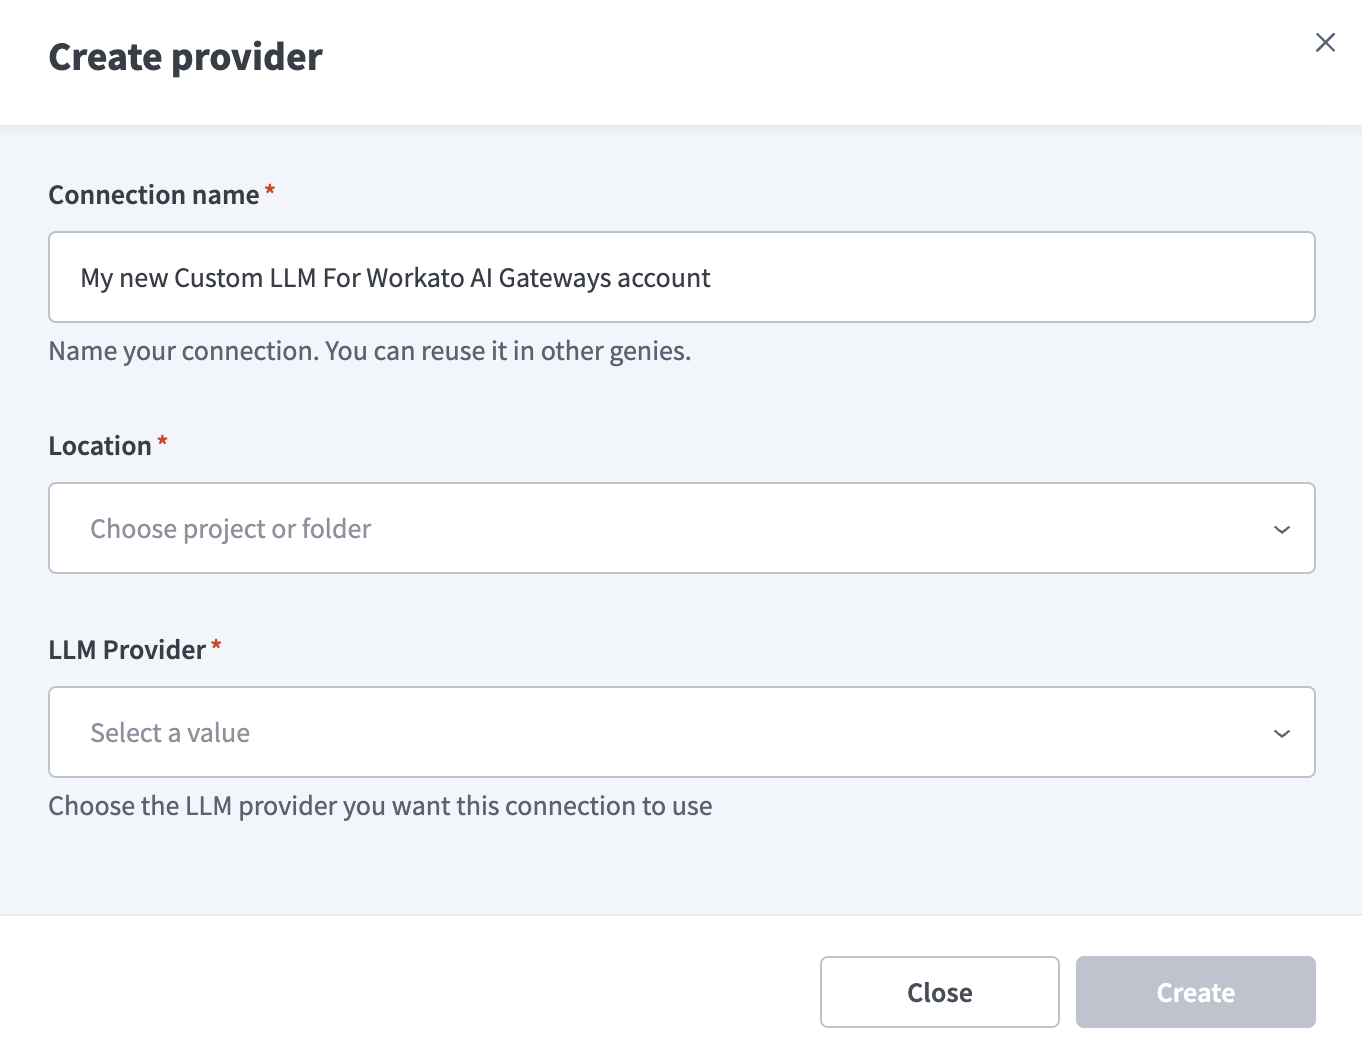 Create provider
Use the Location drop-down menu to select the project or folder where you plan to store this provider.
Use the LLM Provider drop-down menu to select the provider this connection uses. The remaining fields depend on the provider you select:
Click Create to complete the setup.
PROVIDER UNREACHABLE
AI Gateway returns Error 503 and the message Could not reach provider. The service may be temporarily down or overloaded. Please try again shortly. when it can't reach the provider. Your entries are preserved. Click Create again to retry.
The provider displays in the Providers list with a Connected status and the date it was added.
Edit a provider
Complete the following steps to edit a provider:
Go to AI Gateway > Providers.
Click the ... (ellipsis) menu for the provider you plan to edit, then click Edit. This opens the Edit provider page.
Update the fields for the provider.
Click Save.
Delete a provider
Complete the following steps to delete a provider:
Go to AI Gateway > Providers.
Click the ... (ellipsis) menu for the provider you plan to delete, then click Delete.
Review the impact summary in the Delete provider dialog.
Select I understand that this action cannot be undone.
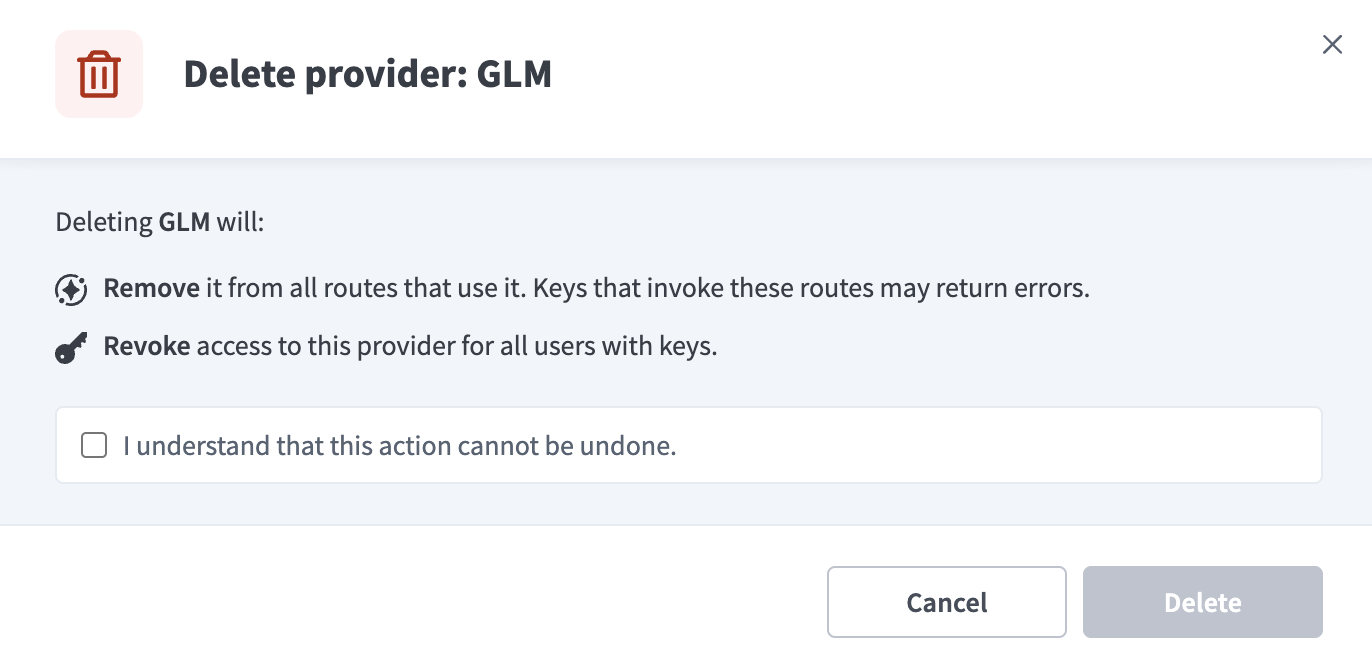 Delete a provider
Click Delete.
Create a route
A route determines which provider and model serves a request. Applications reference a route by its route ID in prompt calls.
PREREQUISITES
You must add at least one provider before you create a route.
Complete the following steps to create a route. The fields depend on the route type you select:
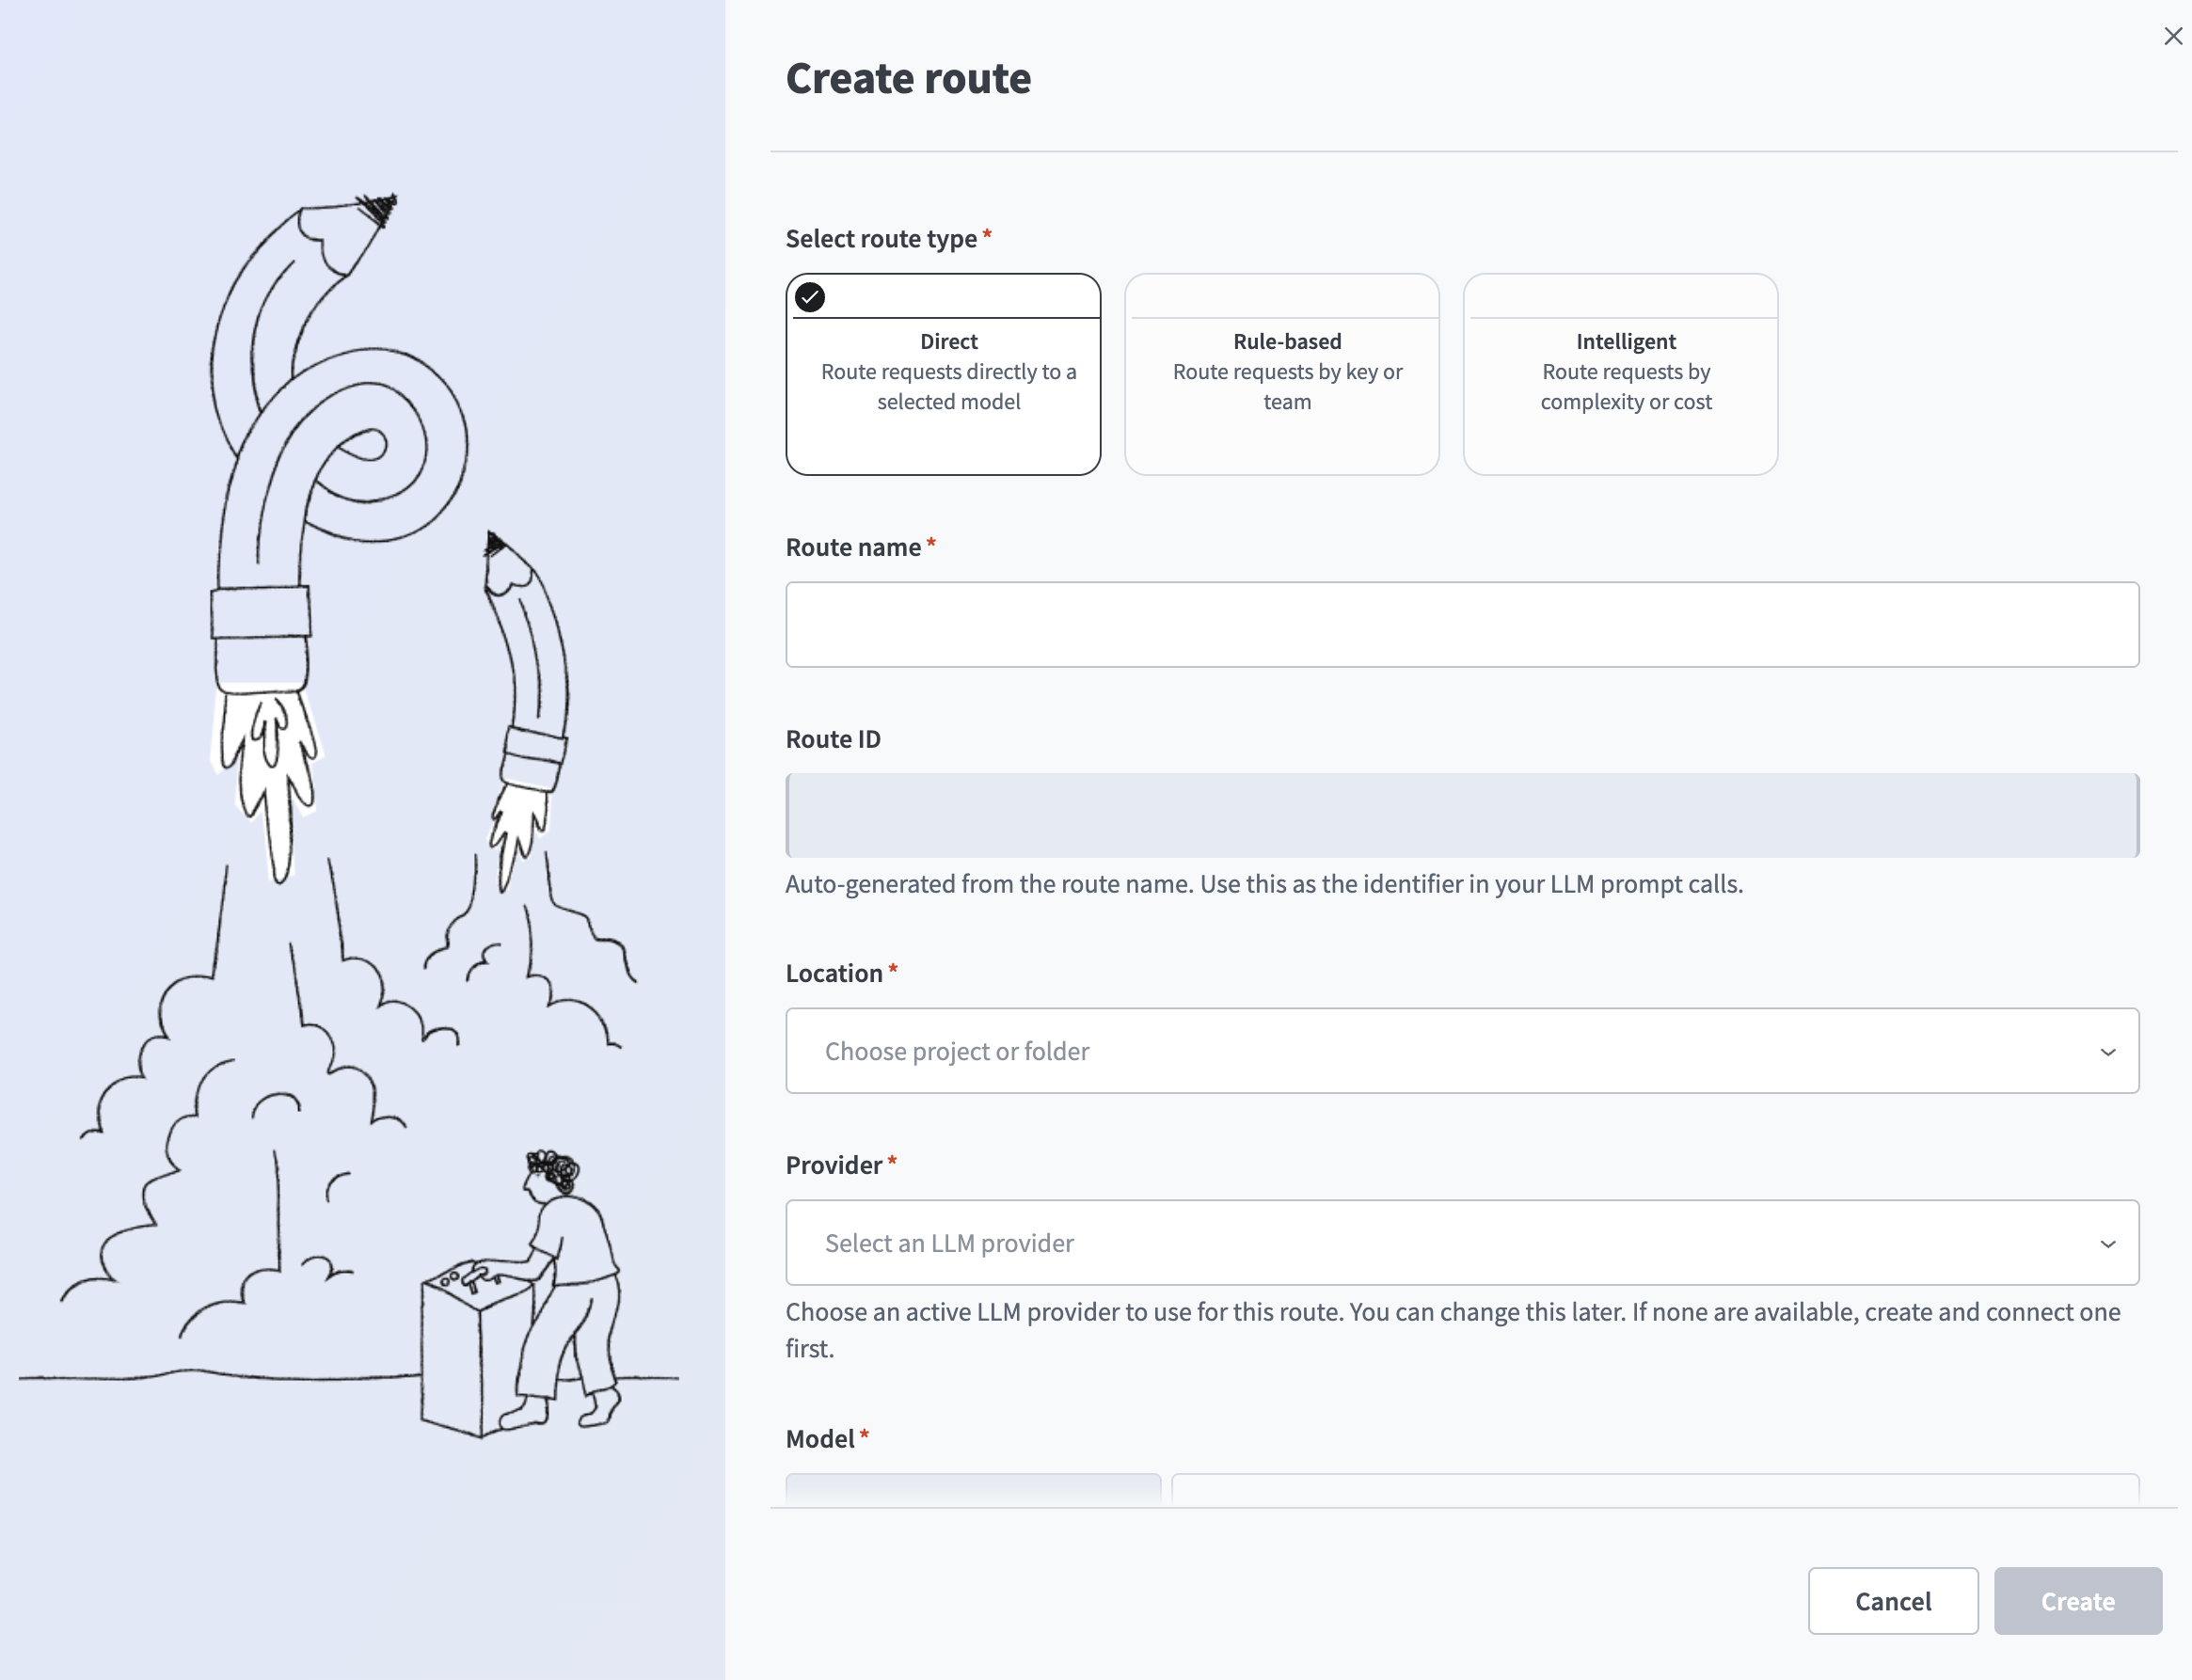 Create route
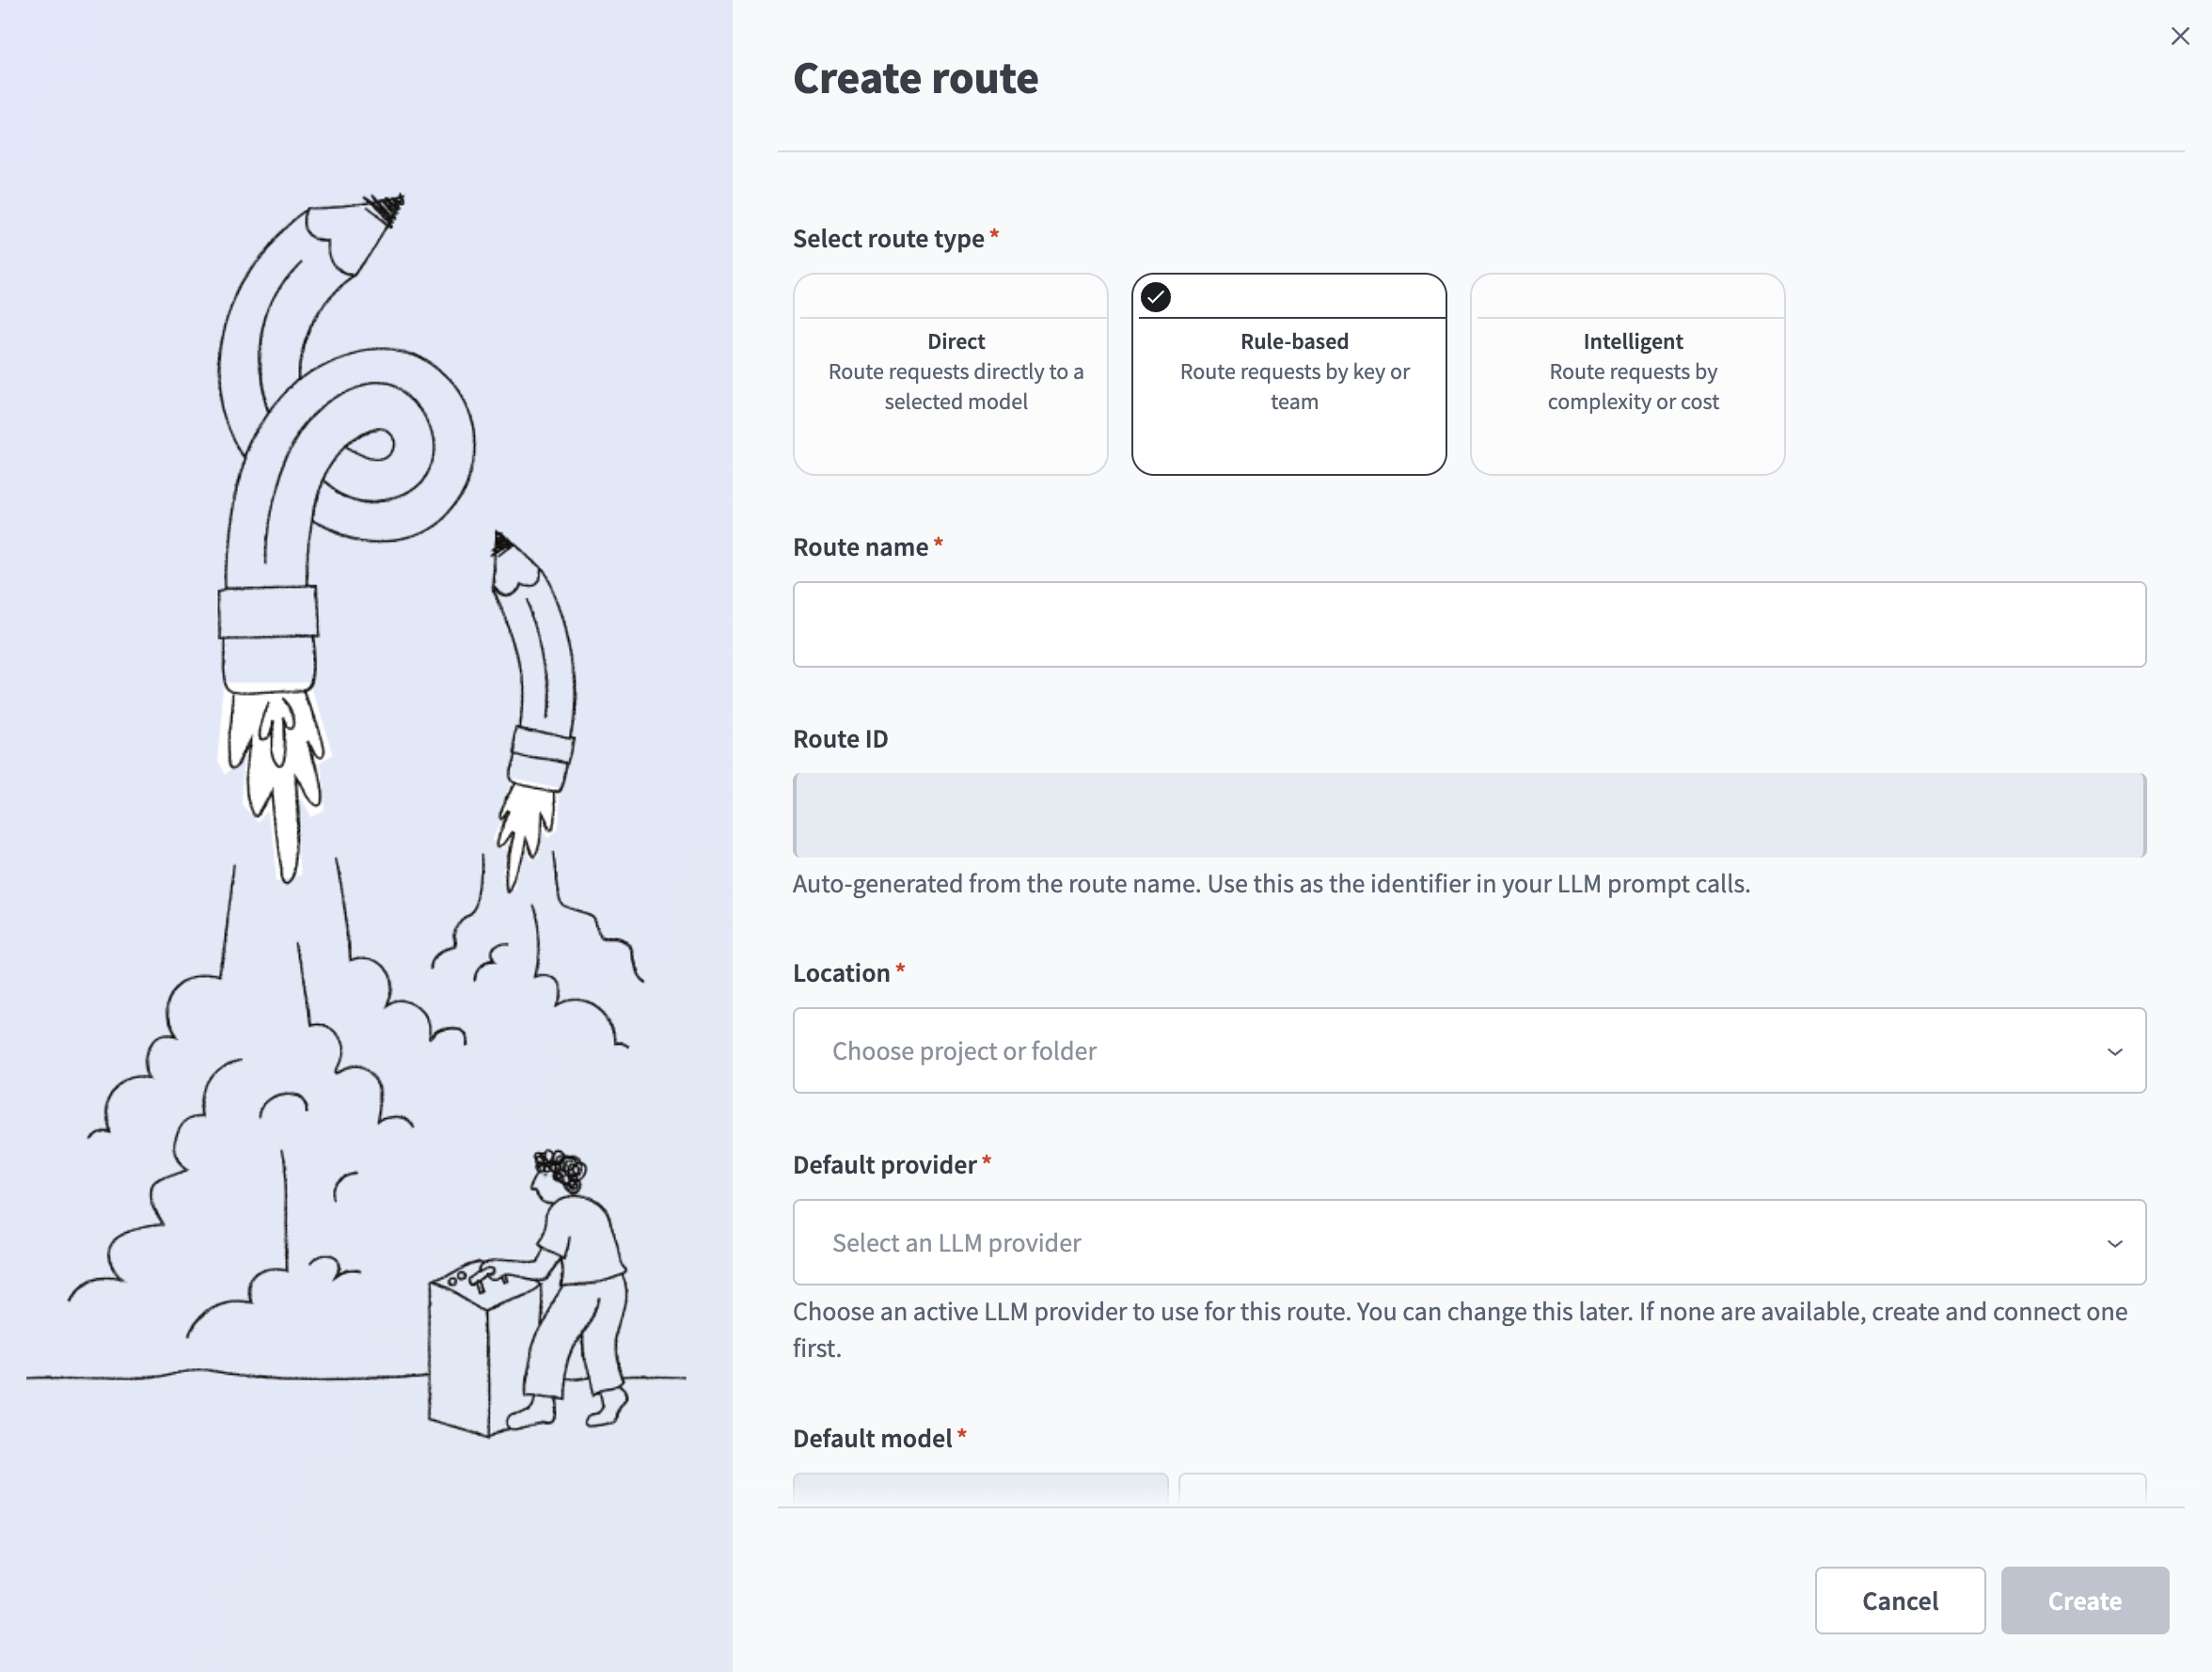 Create route
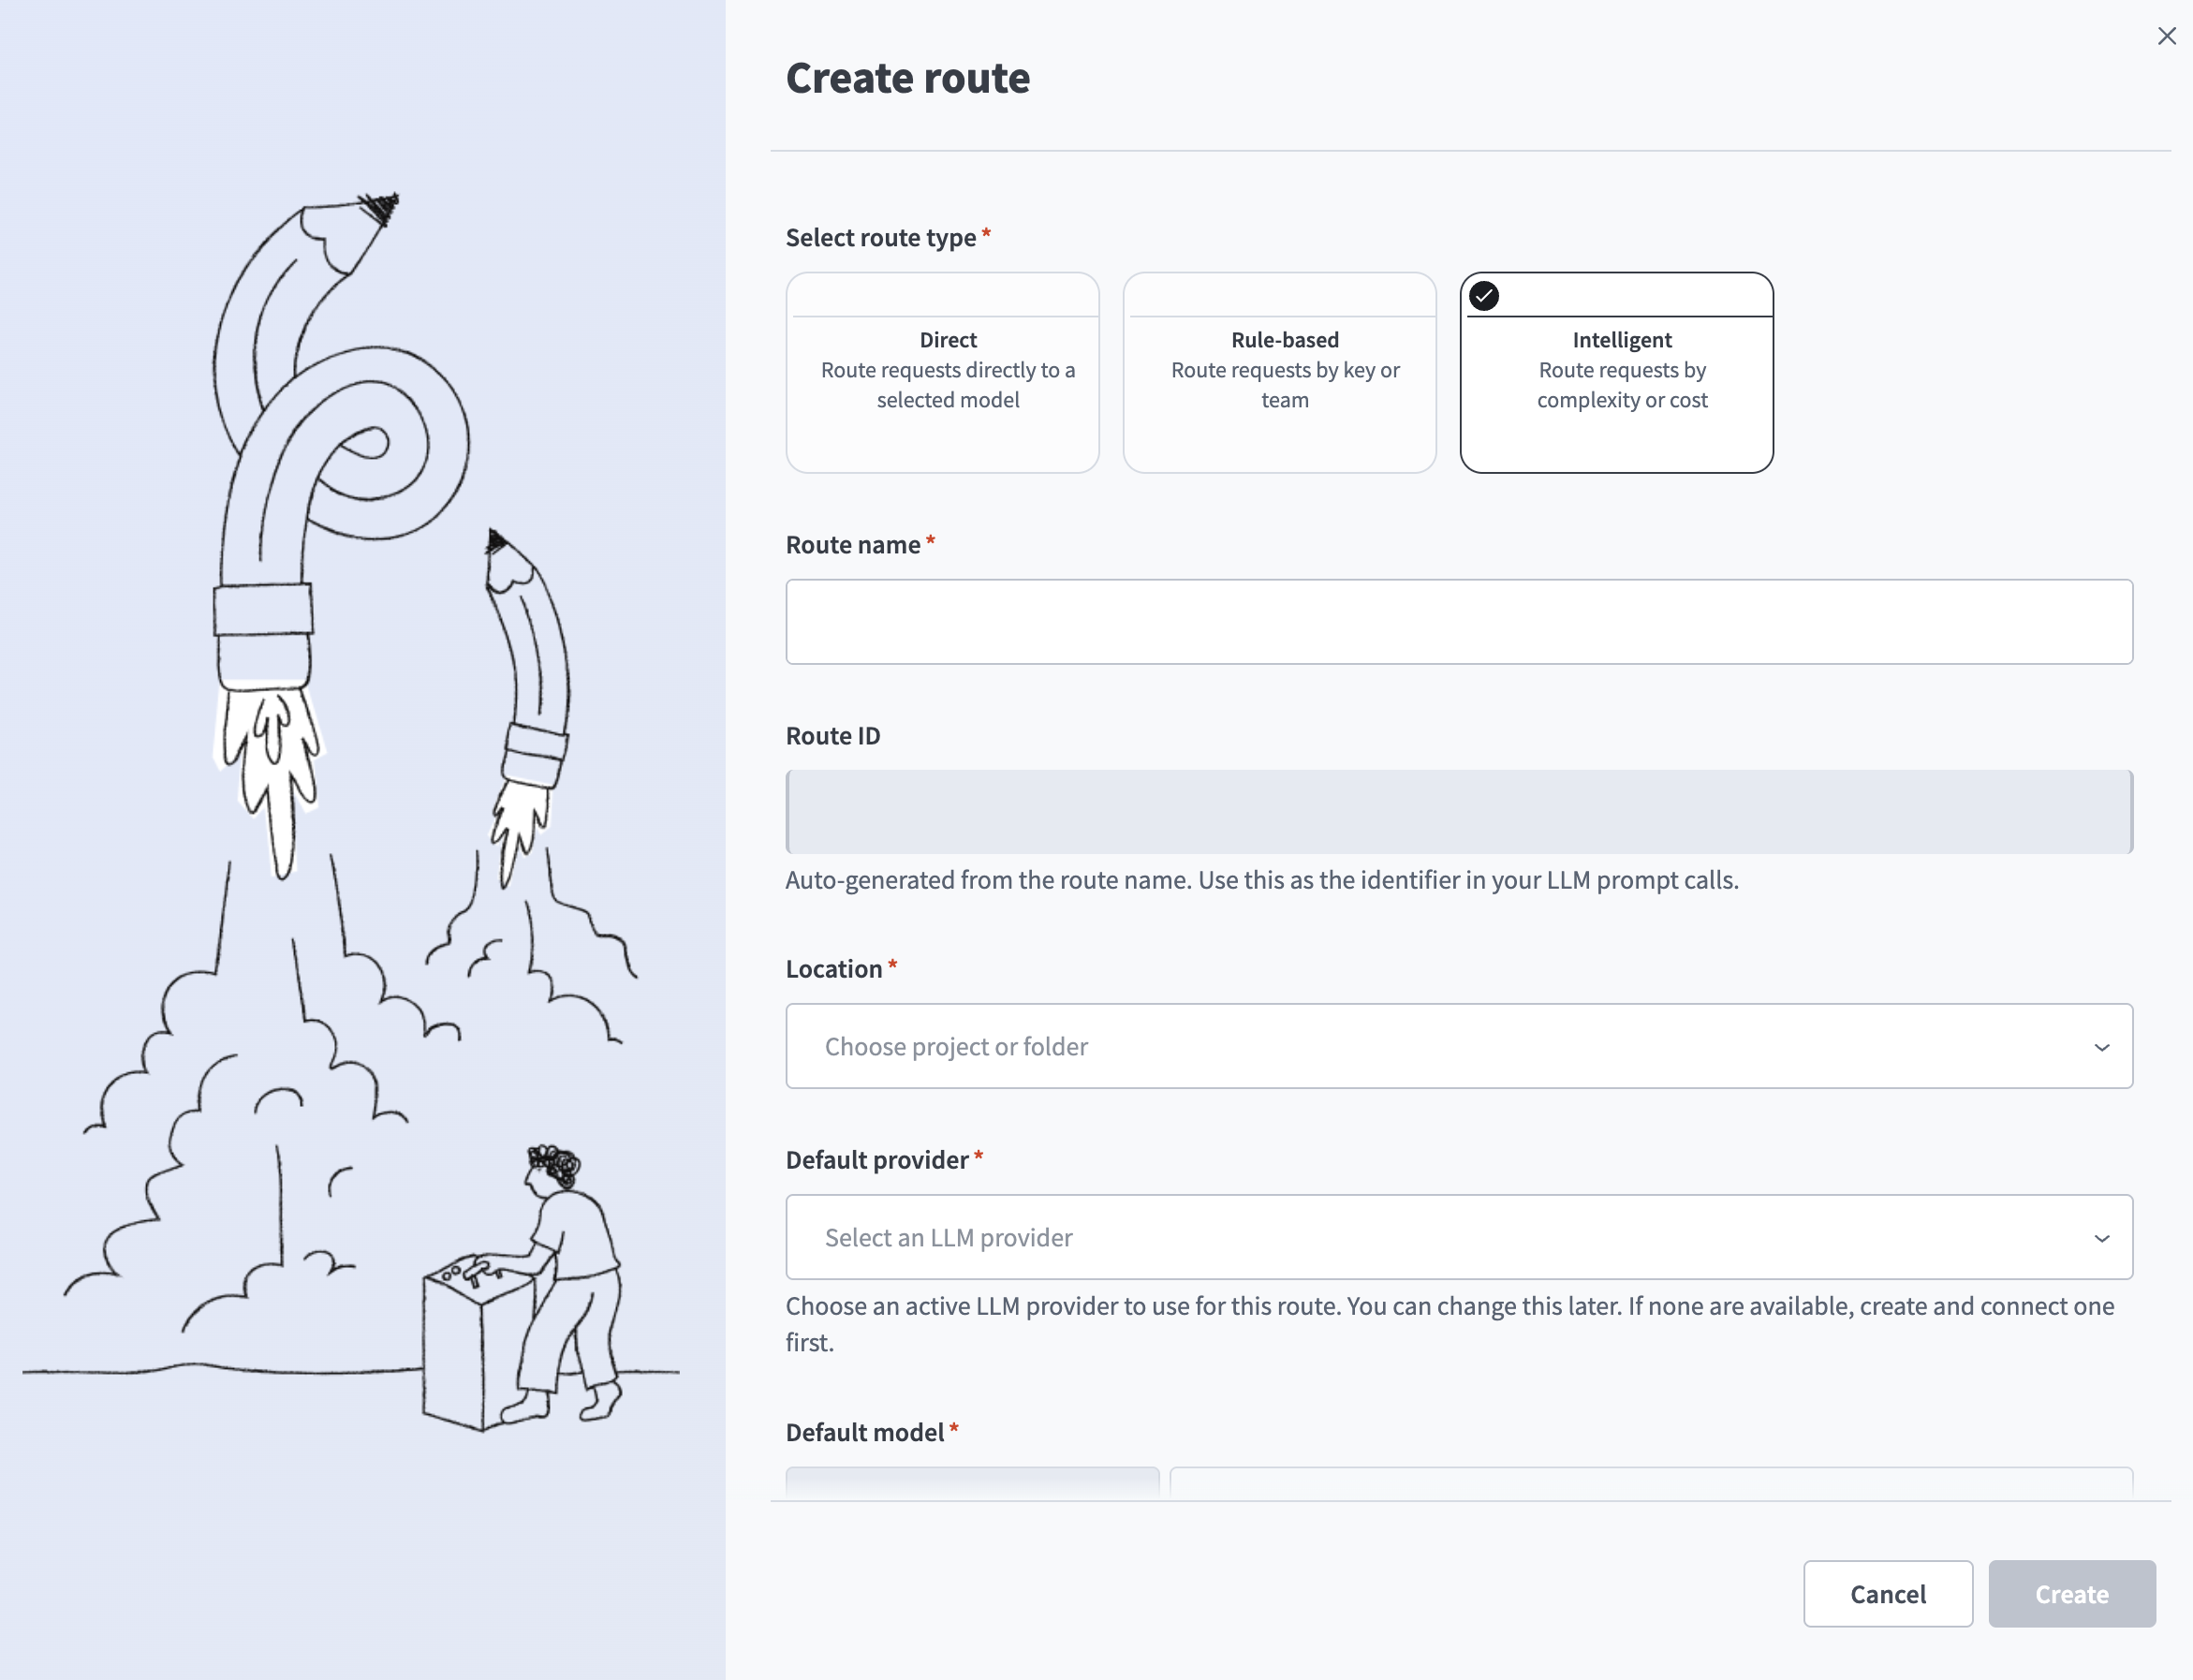 Create route
Route details
Click a route in the Routes list to open its details page. The details panel displays the following:
- Type: The route type, either Direct, Rule-based, or Intelligent.
- Route ID: The identifier to use in your LLM prompt calls.
- Location: The project or folder that stores the route.
- Description: An optional description for the route. Click Edit to add or change it.
- Created: The date and time the route was created.
Click the edit icon next to the route name to rename the route.
Edit a route
Editing a route opens the route builder, where you configure the route on a canvas instead of in a form.
Complete the following steps to edit a route:
Go to AI Gateway > Routes and click the route you plan to edit.
Click Edit to open the route builder.
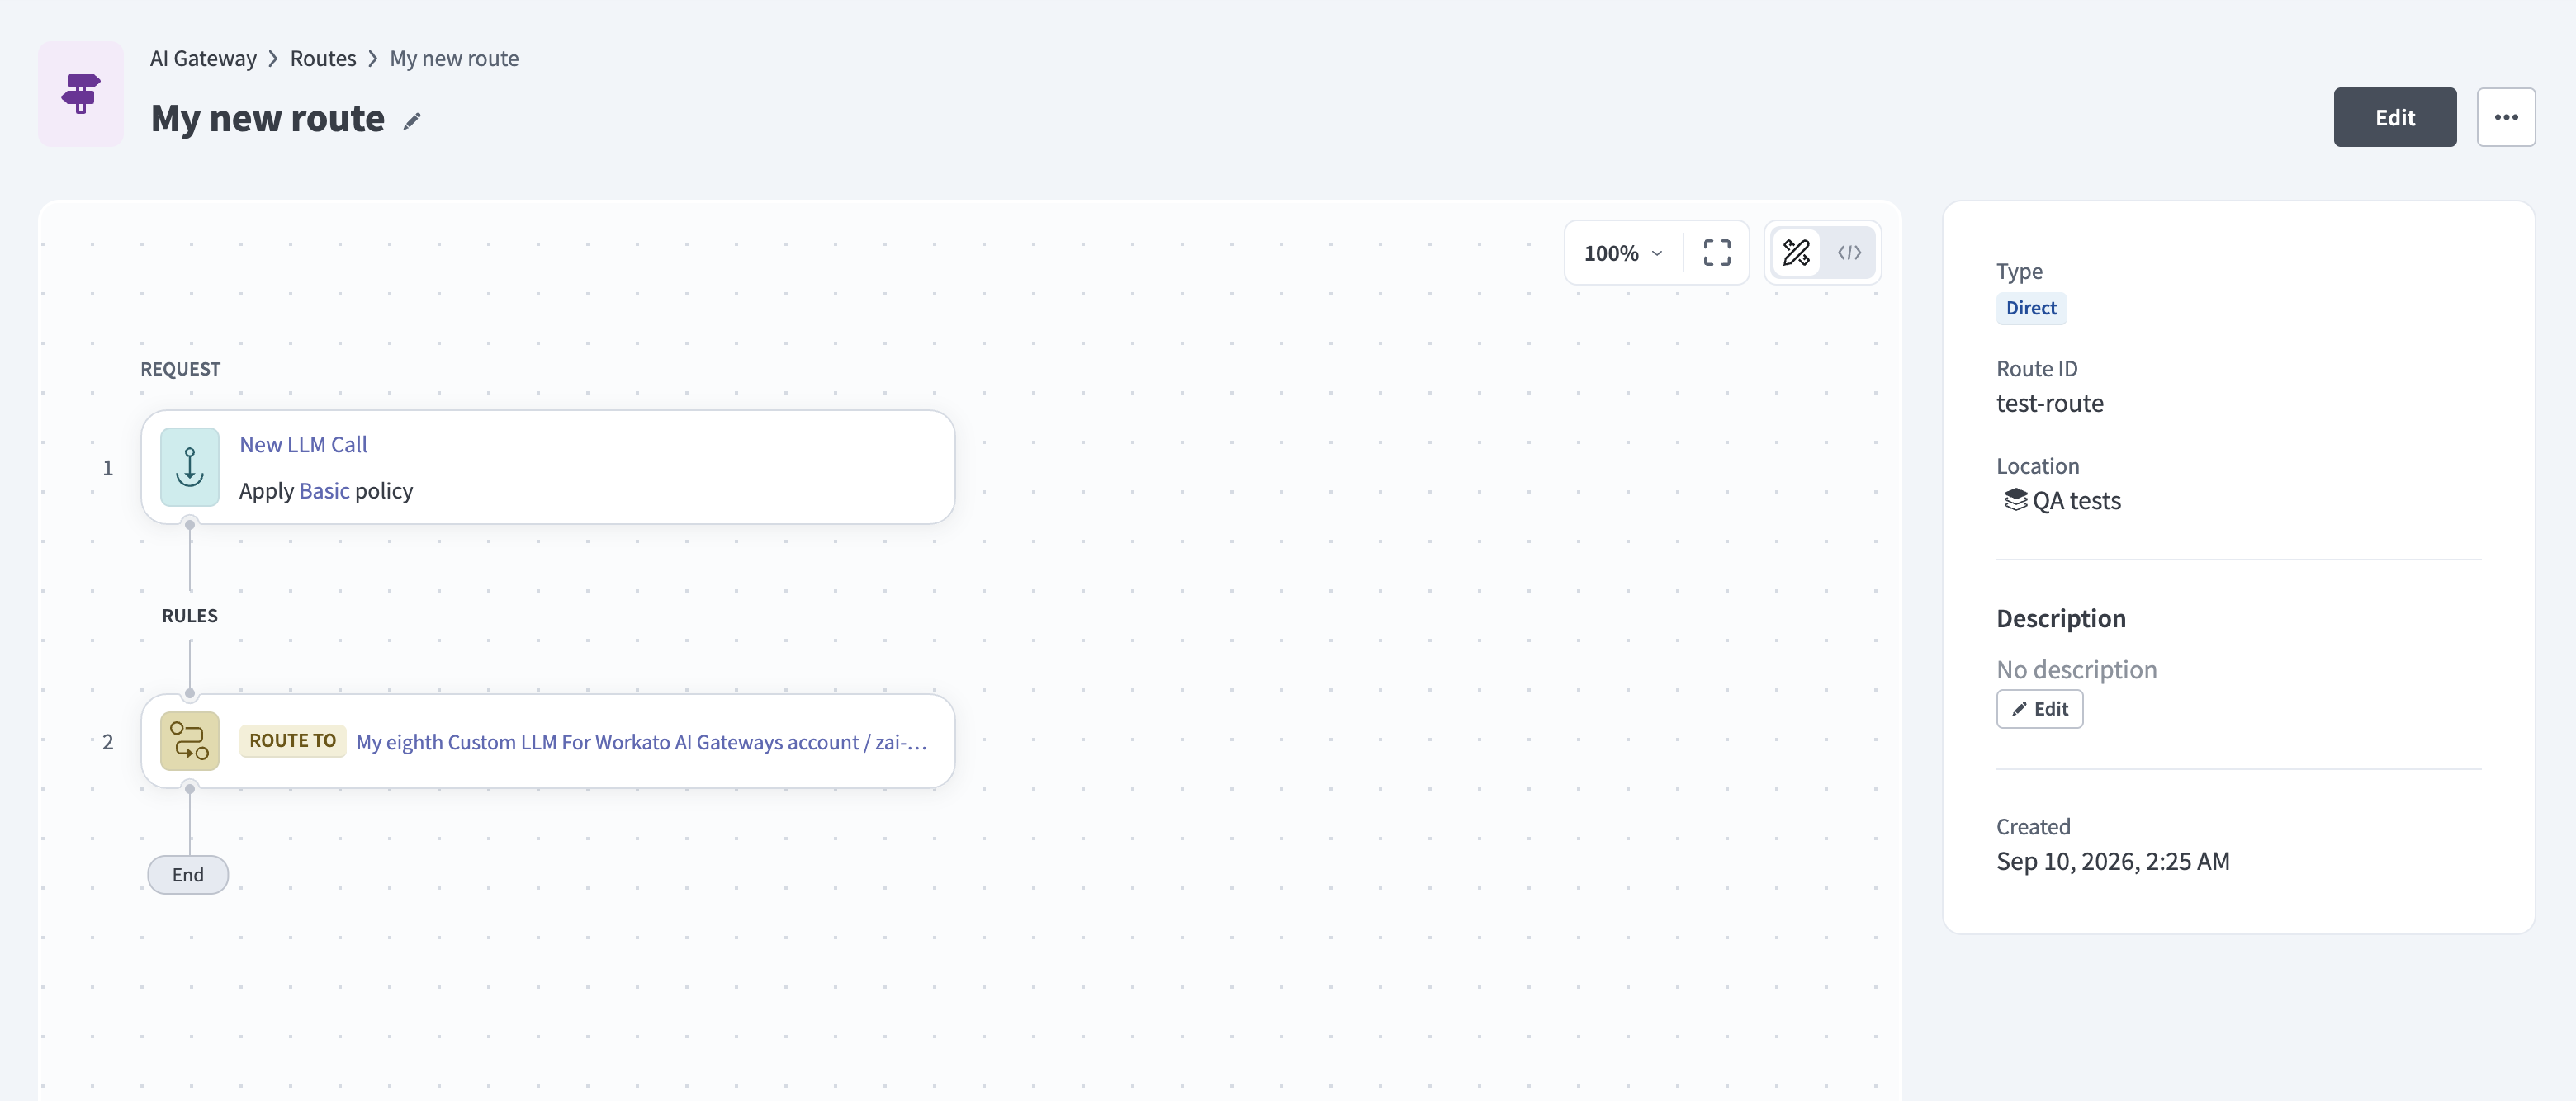 Edit route
Click a step on the canvas to configure it:
- Click the New LLM Call step to change the Policy that applies to all requests. Click Create a new one if you need a policy that doesn't exist yet.
- Click a Route to step to change its Provider and Model.
Click Save, then click Exit to leave the route builder.
Refer to Route builder to add rules to a rule-based or intelligent route.
Delete a route
Complete the following steps to delete a route:
Go to AI Gateway > Routes.
Click the ... (ellipsis) menu for the route you plan to delete, then click Delete.
Click Delete to confirm.
KEYS STOP FUNCTIONING
Any access key that uses a deleted route no longer functions and must be recreated.
Create an access key
An access key is the credential an application presents to AI Gateway. Each key grants access to one or more routes, which determine the provider and model the key can use.
PREREQUISITES
You must create at least one route before you create an access key.
Complete the following steps to create an access key:
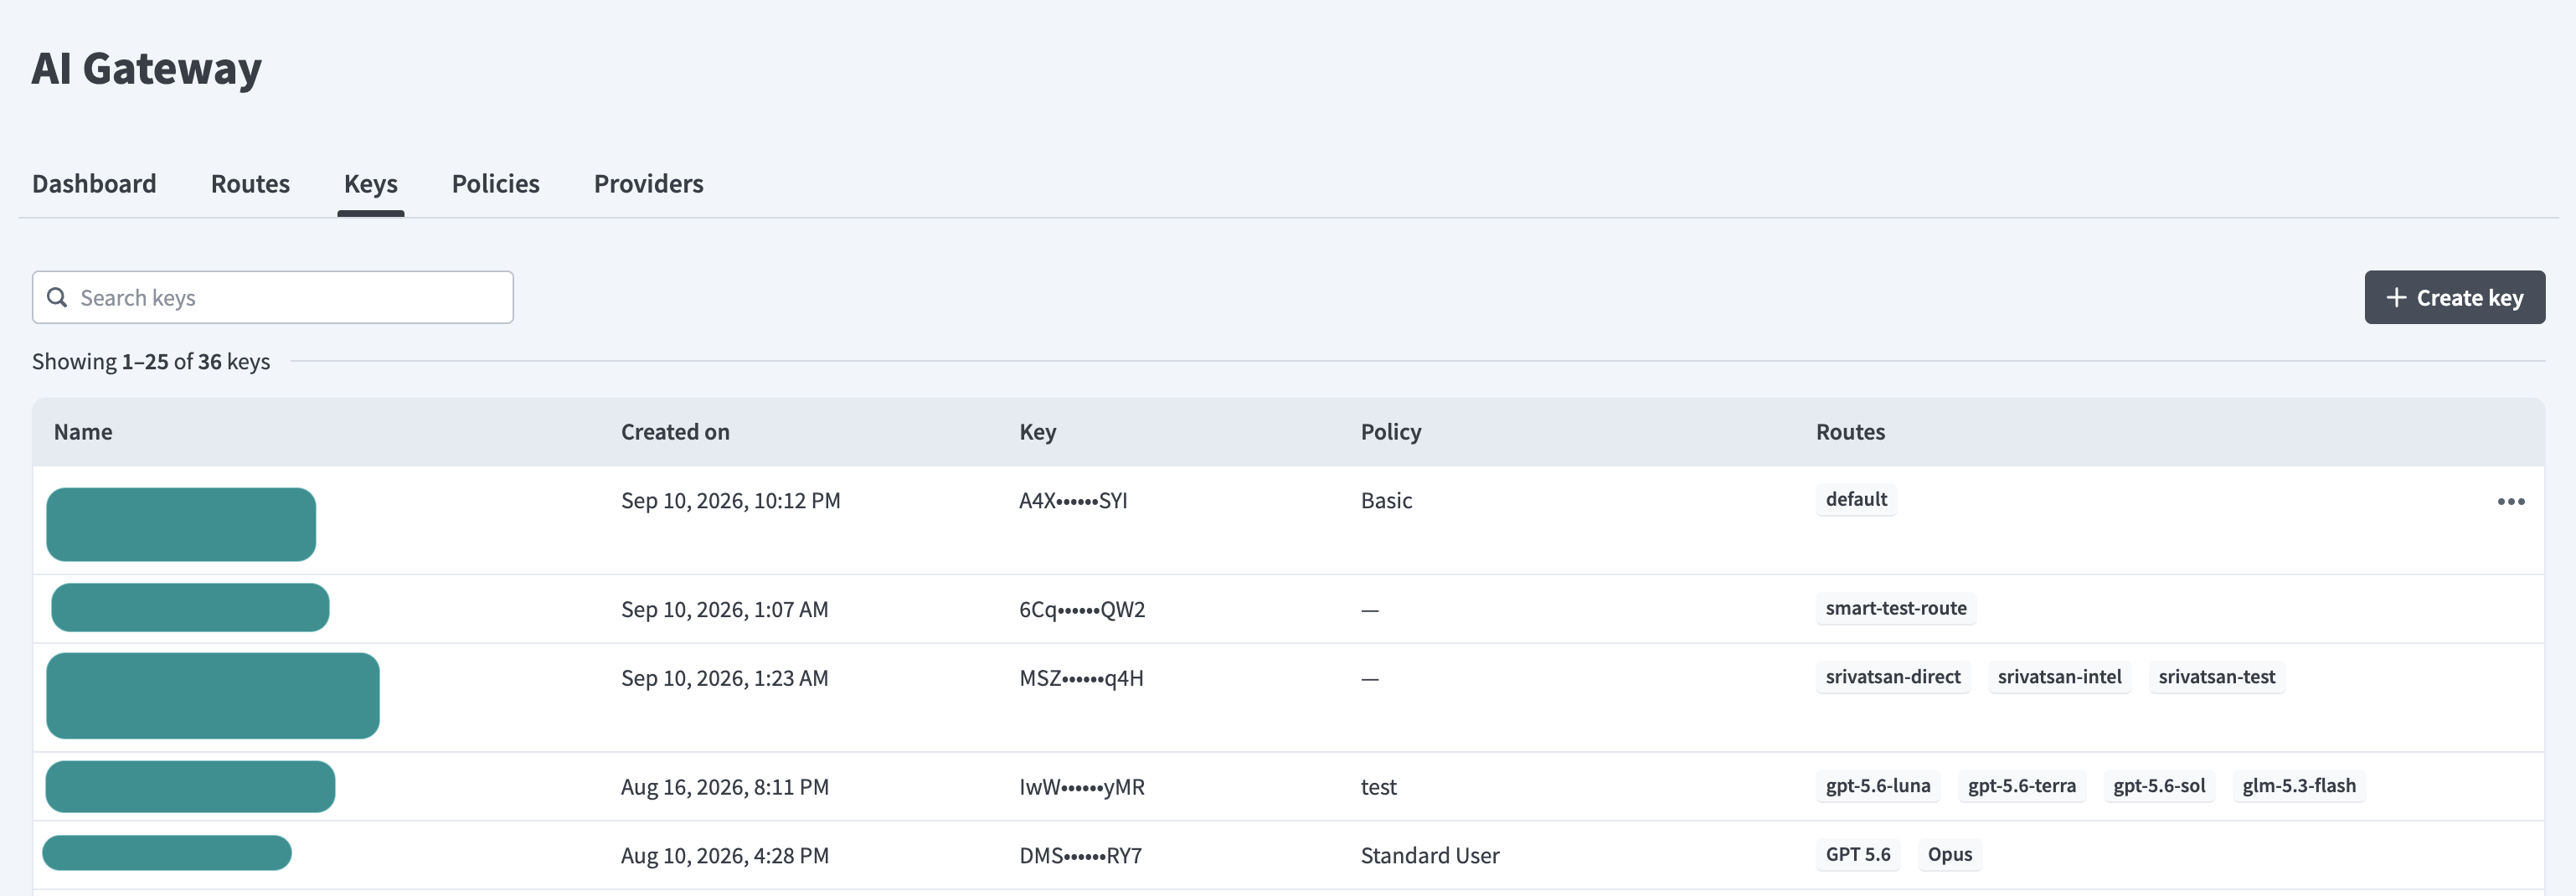
Go to AI Gateway > Keys.
Click + Create key.
Enter a descriptive name in the Name field.
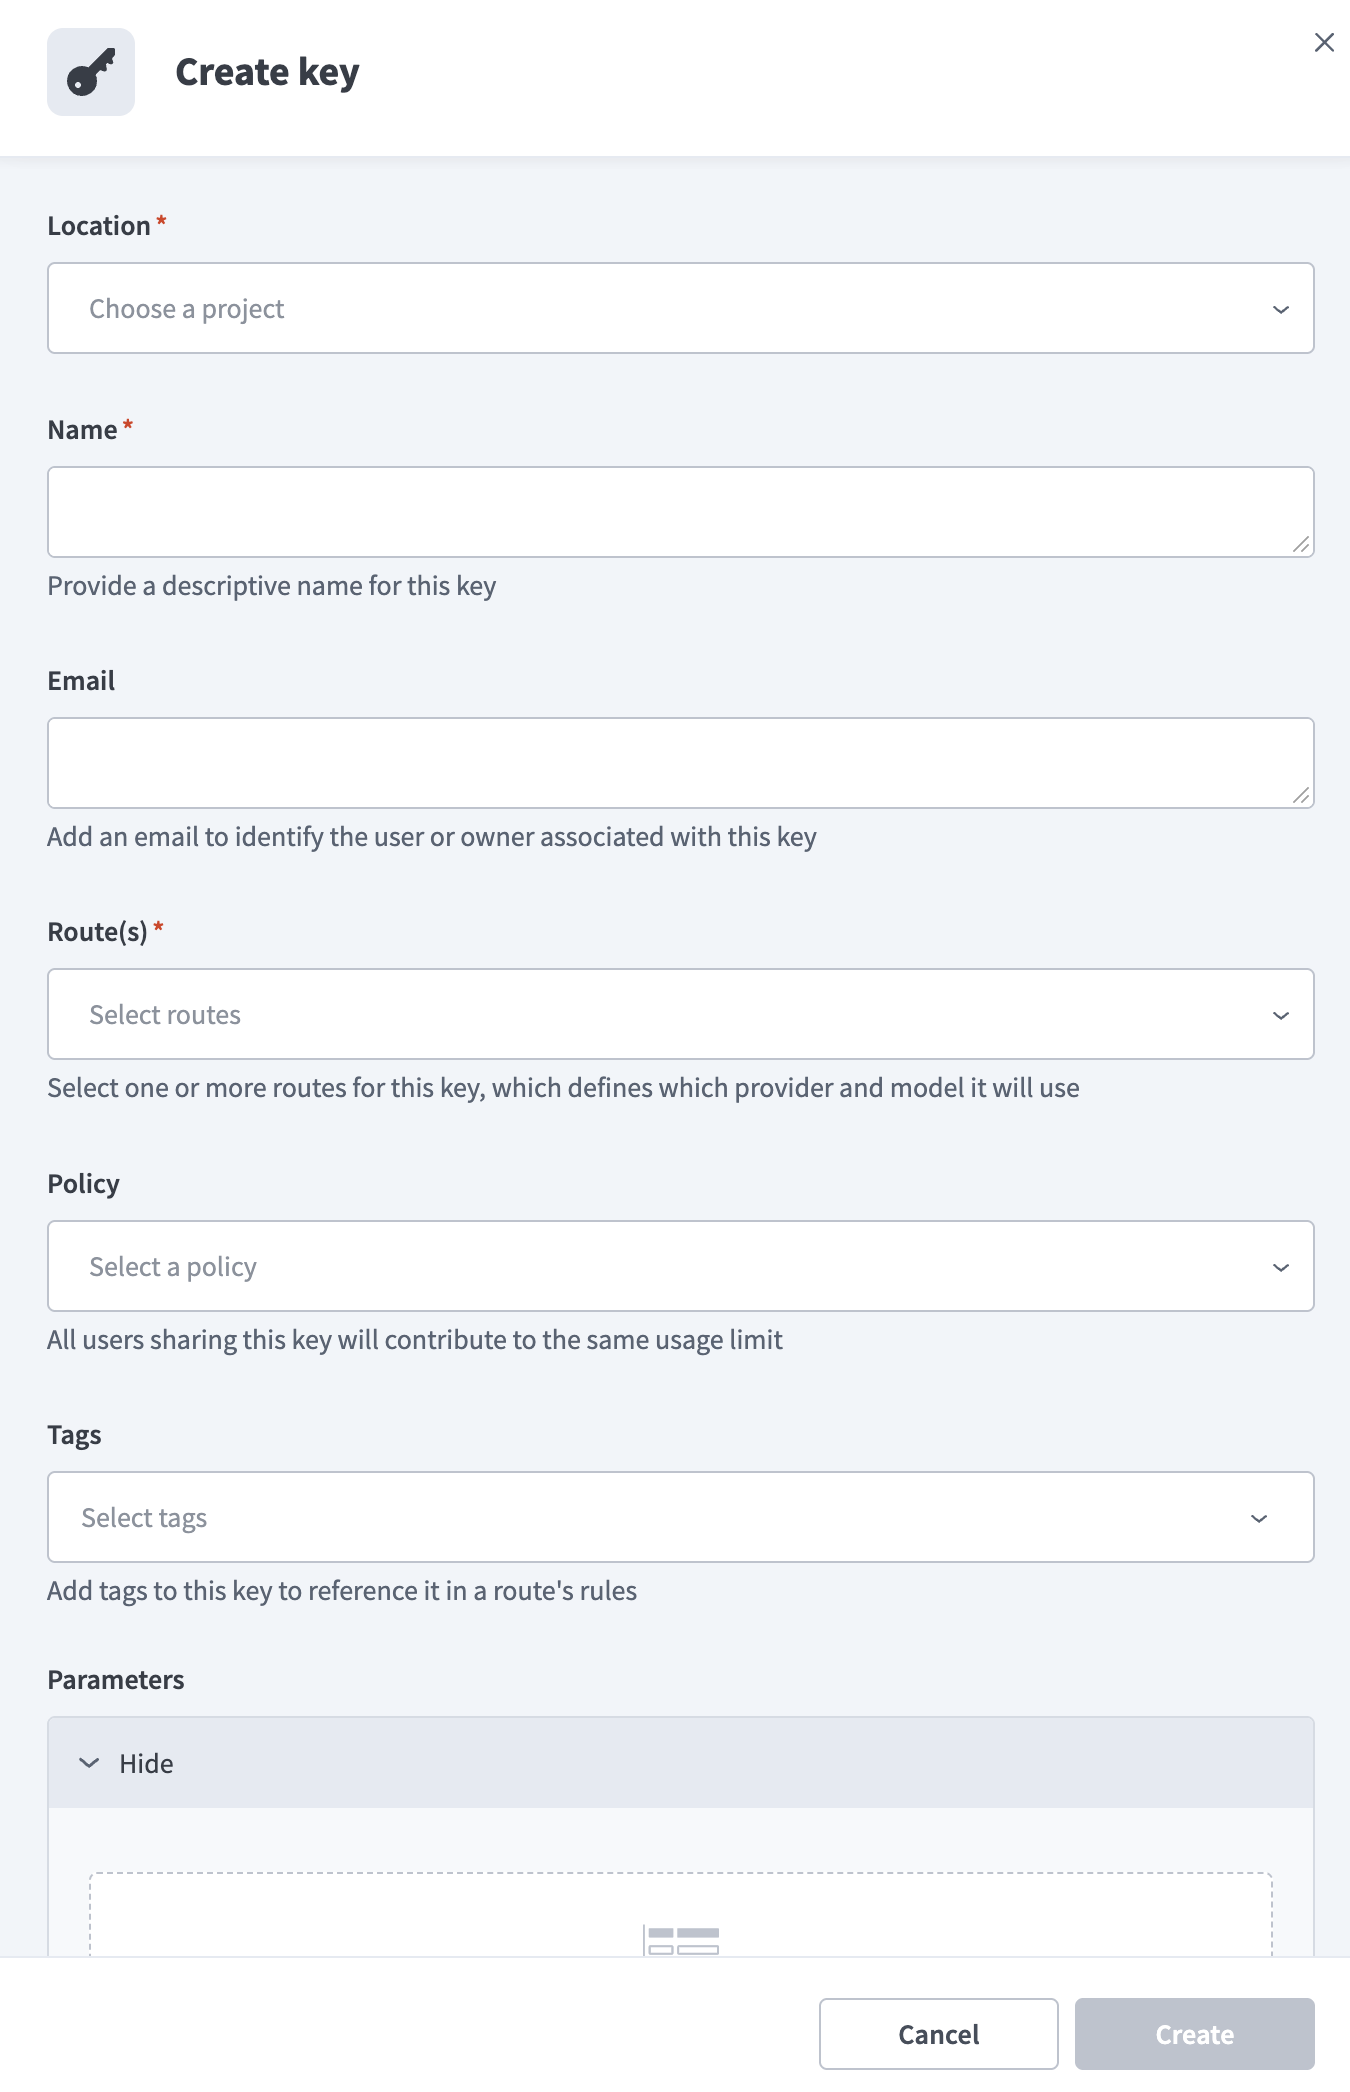 Create key
Use the Route(s) drop-down menu to select the routes this key can use, then click OK. Click Select all to select every route. Manage routes in AI Gateway > Routes.
Optional. Use the Policy drop-down menu to select a policy for this key. Click Create policy to create a policy without leaving the dialog, or manage policies in AI Gateway > Policies. Refer to Create a policy for the field descriptions.
SHARED USAGE
All users who share an access key contribute to the same rate limits and token limits. Issue separate access keys for teams or applications that need independent limits.
Optional. Enter one or more tags in the Tags field. Rules on a rule-based route can match on the tags assigned to a key.
Optional. Click Add parameter to add a key-value pair to this access key, then enter a Parameter name and a Value. Rules on a rule-based route can match on these parameters to differentiate requests that come from this key. Click Clear to remove a parameter.
Click Create.
Copy the generated key and store it in a safe place. Click Copy, then click Close.
The Access key generated dialog also displays the URL to call and the request body format. Pass the route ID as the model value to select which route serves the request:
{
  "model": "<route-id>"
}
Refer to Test a route for a full example request.
THE KEY IS DISPLAYED ONCE
You can't view the generated key again after you close the dialog. Refresh the key to generate a new value if you lose it.
The access key displays in the Keys list with its routes, policy, creation date, and a masked key value. You can filter the list by route and by policy.
Edit an access key
Complete the following steps to edit an access key:
Go to AI Gateway > Keys.
Click the ... (ellipsis) menu for the key you plan to edit, then click Edit.
 Edit key
Update the Name, Route(s), Policy, Tags, or Parameters fields, then click Save.
Refresh an access key
Refresh an access key to rotate its value. Refreshing generates a new token and revokes access for all current users of the key.
CLIENTS MUST BE UPDATED
Applications that use the previous token lose access when you refresh a key. You must update each client with the refreshed token to regain access.
Complete the following steps to refresh an access key:
Go to AI Gateway > Keys.
Click the ... (ellipsis) menu for the key you plan to refresh, then click Refresh.
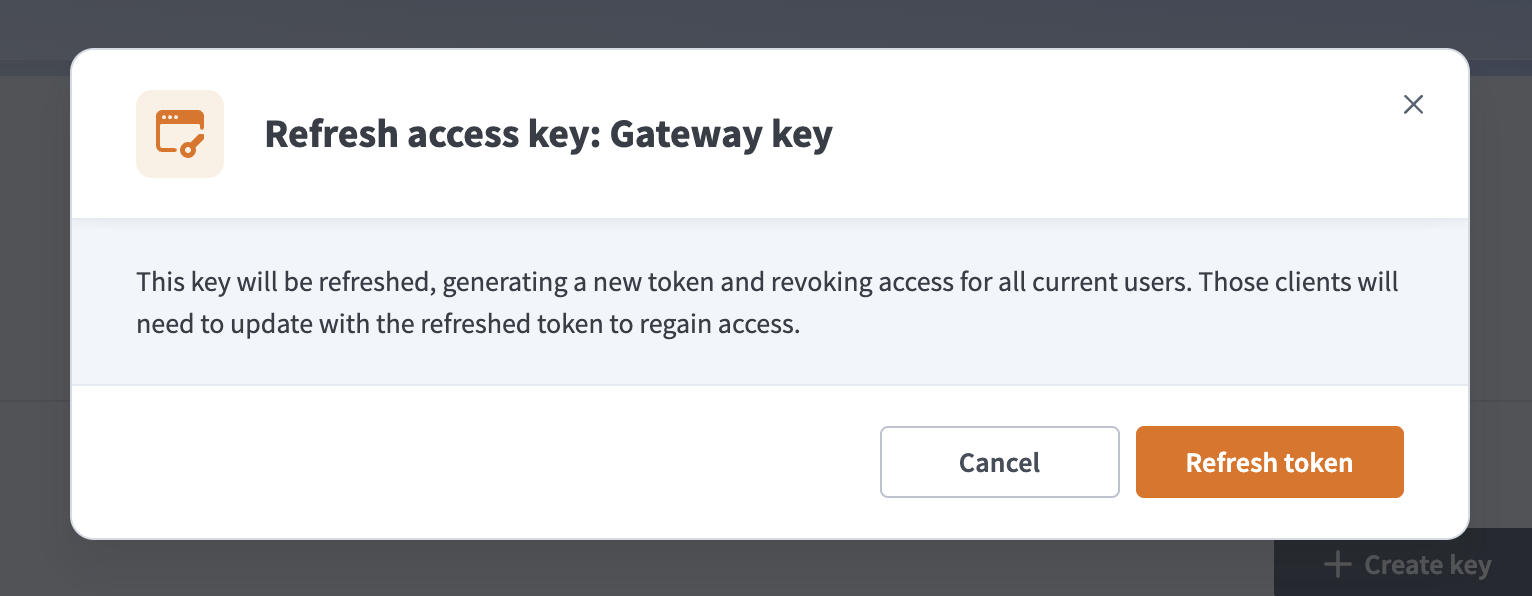 Refresh key
Click Refresh token.
Copy the refreshed key and store it in a safe place. Click Copy, then click Close. You can't view the refreshed key again after you close the dialog.
Delete an access key
Complete the following steps to delete an access key:
Go to AI Gateway > Keys.
Click the ... (ellipsis) menu for the key you plan to delete, then click Delete.
Click Delete to confirm.
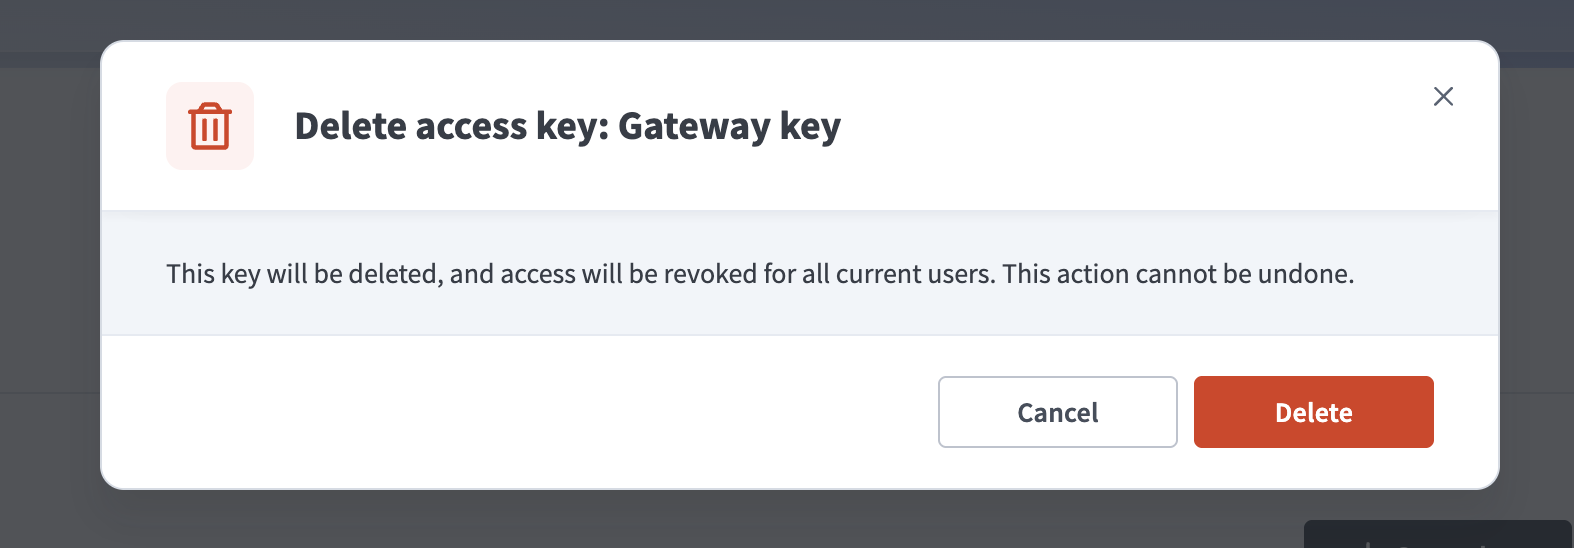 Delete key
ACCESS IS REVOKED IMMEDIATELY
Deleting an access key revokes access for all current users of that key. You can't undo this action.
Test a route
Send a request to AI Gateway's endpoint to confirm a route works.
PREREQUISITES
The access key you use must have the route you're testing in its Route(s) list. Refer to Create an access key.
Authenticate with an access key and pass the route ID as the model value:
curl <ai-gateway-url> \
  -H "Content-Type: application/json" \
  -H "Authorization: Bearer <access-key>" \
  -d '{
    "model": "<route-id>",
    "messages": [
      {
        "role": "user",
        "content": "Hello"
      }
    ]
  }'
Replace <ai-gateway-url> with the URL shown in the Access key generated dialog when you created the access key.
AI Gateway resolves the request to the route's provider and model, applies any assigned policy, and returns an OpenAI-compatible chat completion response, regardless of which provider served the request.
Create a policy
A policy defines the rate limits, token limits, and IP access restrictions that apply to the routes and access keys assigned to it.
Complete the following steps to create a policy:
Go to AI Gateway > Policies.
Click + New policy.
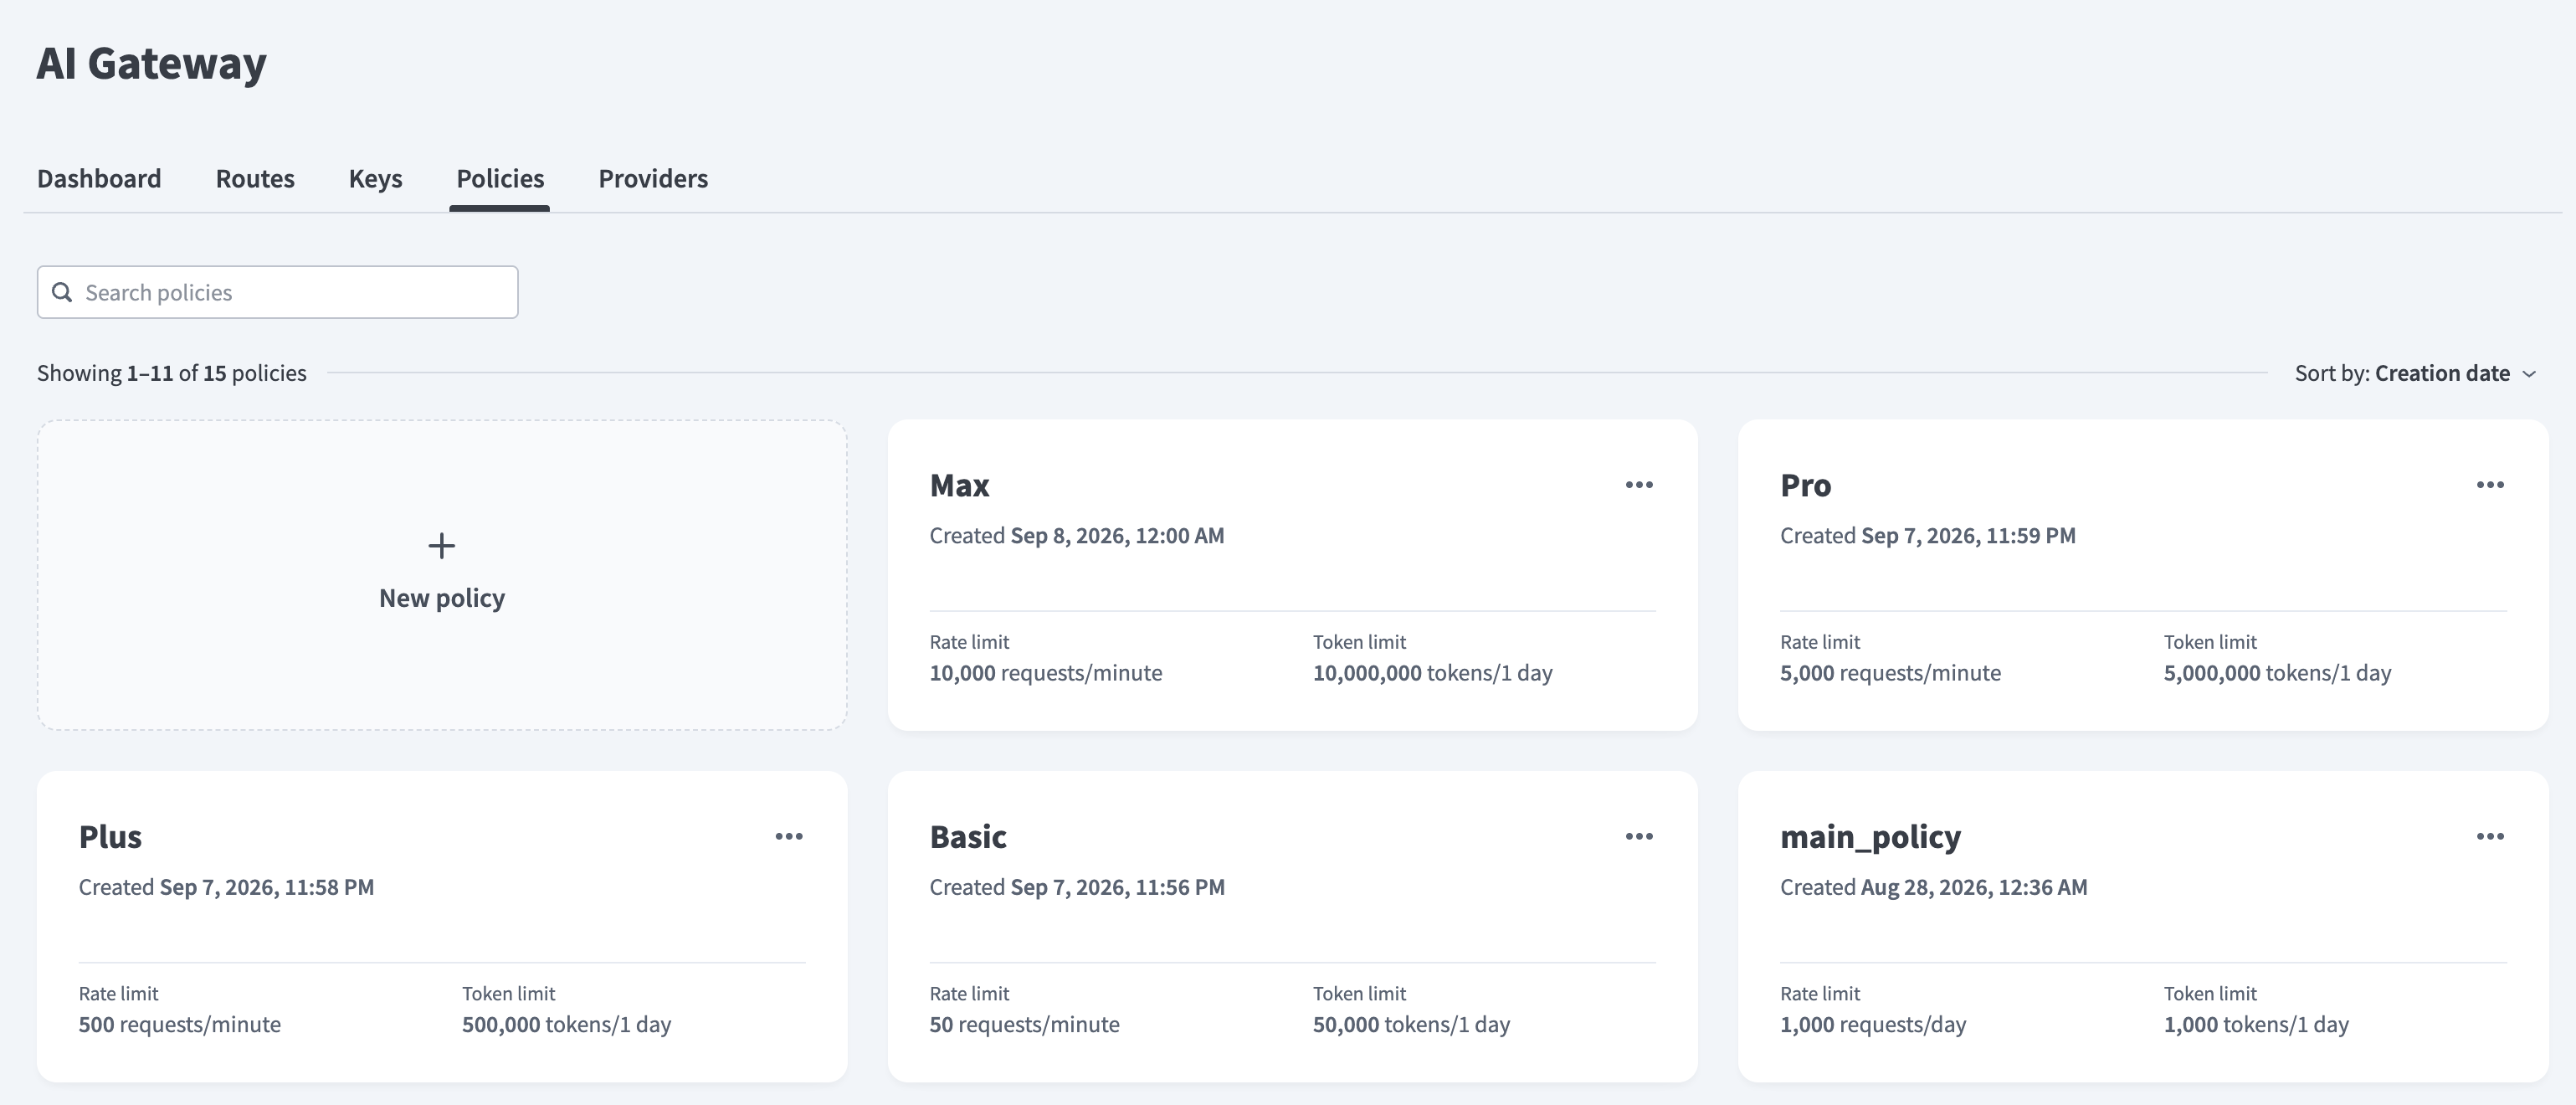 Add policy
Enter a name in the Name field.
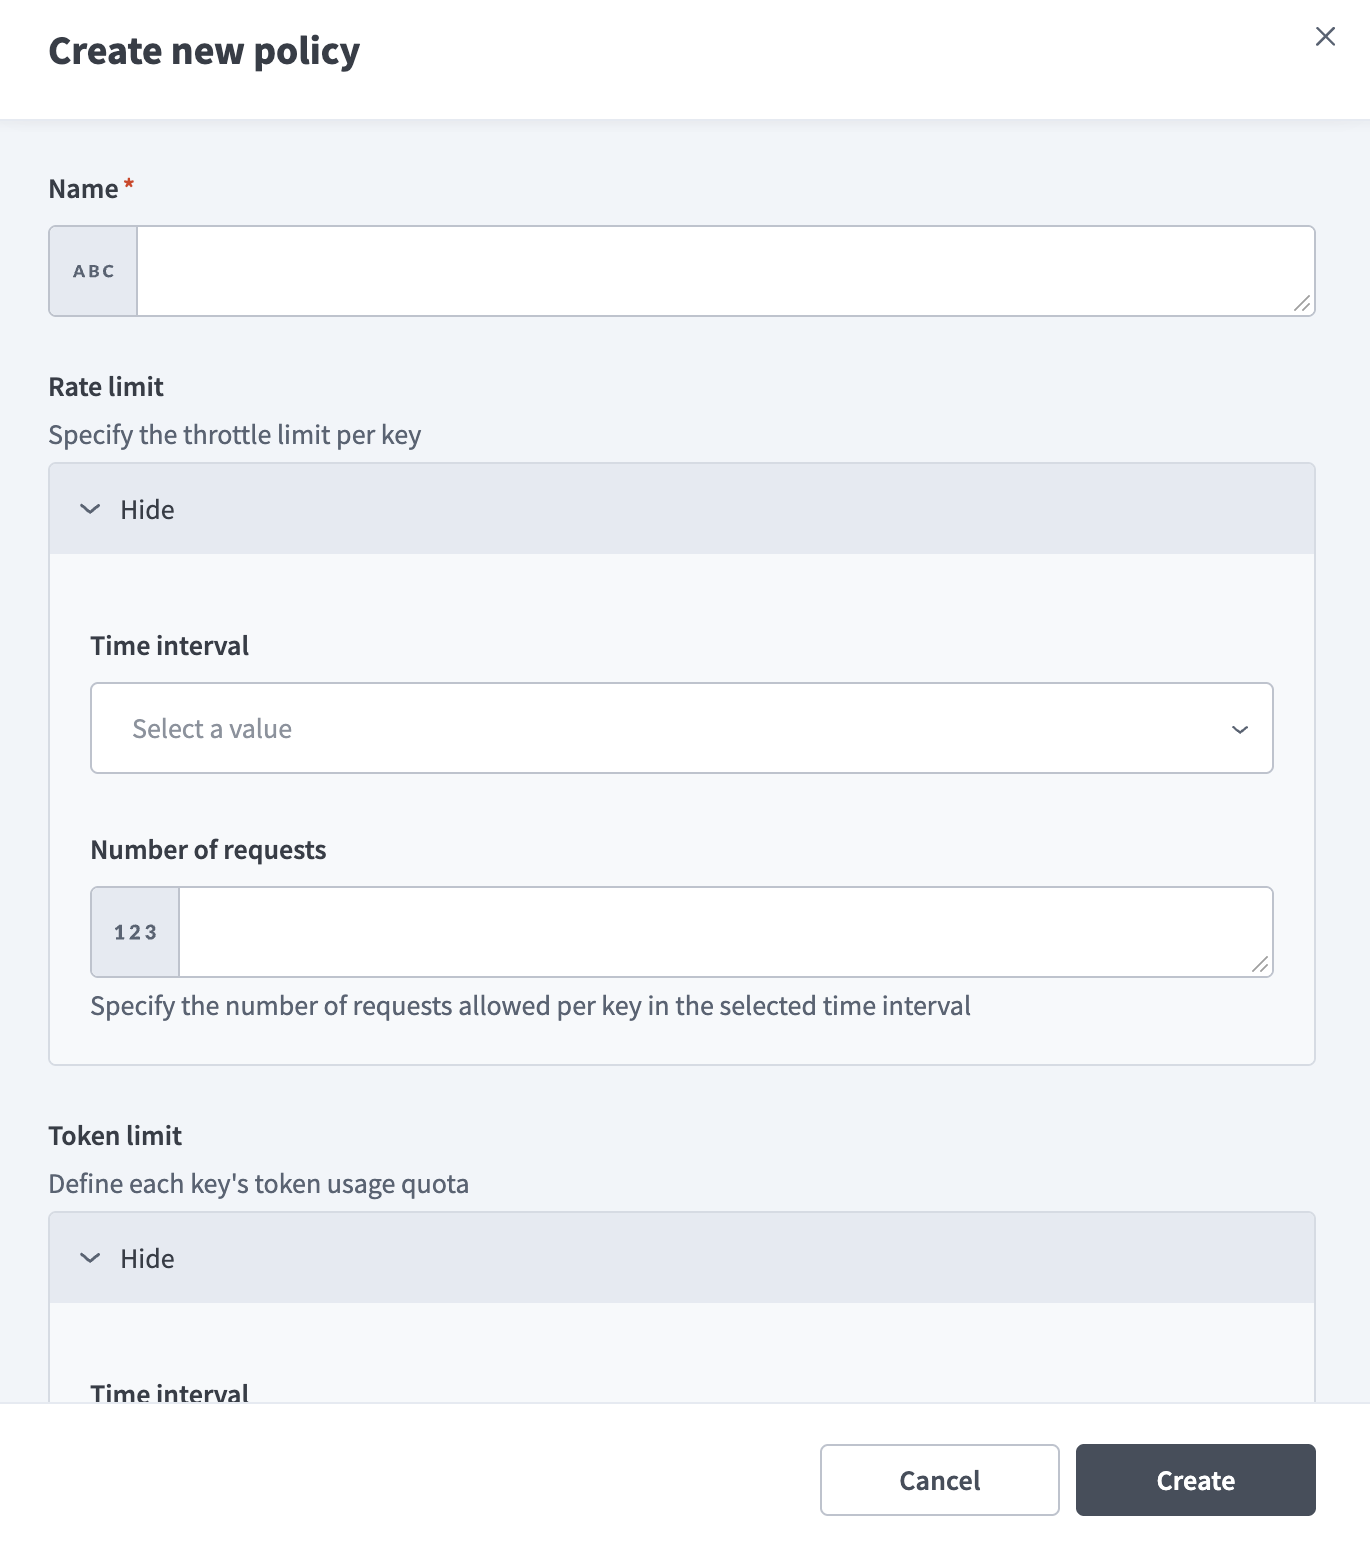 Create new policy
Optional. Expand Rate limit to specify the request limit per key, then configure the following fields:
Use the Time interval drop-down menu to select the interval the limit applies to.
Enter the number of requests allowed per key in the selected time interval in the Number of requests field.
Optional. Expand Token limit to define each key's token limit, then configure the following fields:
Use the Time interval drop-down menu to select the interval the limit applies to.
Enter the number of tokens allowed per key in the selected time interval in the Number of tokens field.
Optional. Expand IP access control to restrict access by IP address, then configure the following fields:
Optional. Enter one or more IP addresses in the Allowed IPs field to allow requests only from those addresses. Separate multiple IP addresses with commas, or define a netmask, for example 106.226.96.0/20.
Optional. Enter one or more IP addresses in the Blocked IPs field to block requests from those addresses. Separate multiple IP addresses with commas, or define a netmask, for example 106.226.96.0/20.
Click Create.
Validation messages
AI Gateway returns the following validation messages:
| Field | Message | Condition |
|---|---|---|
| Connection name, Name | Name cannot exceed 100 characters. | The name is longer than 100 characters. |
| API URL | Please enter a valid URL. | The value isn't a valid URL. |
| Attempt timeout (in seconds) | Value must be between 1 and 360 seconds. | The value is outside the supported range. |
Last updated: